How to Start Embroidery Knot: A Beginner's Guide to Embroidery Knots
How to Start Embroidery Knot: A Beginner's Guide to Embroidery Knots
How to Start Embroidery Knot: A Beginner's Guide to Embroidery Knots
How to End Your Stitches?
Image Source
Finishing your embroidery stitches requires precision. Always aim to:
Weave the thread into existing stitches for a smooth look.
Avoid bulky knots, especially for designs like chain embroidery stitch or cross stitch that demand a neat finish.
How To End An Embroidery Stitch
Just as there are ways to start stitches with and without knots, the same is true with ending your stitches. Whichever one of the two methods you chose to start with, you’ll want to respectively end your stitches the same way.
Ending Without a Knot
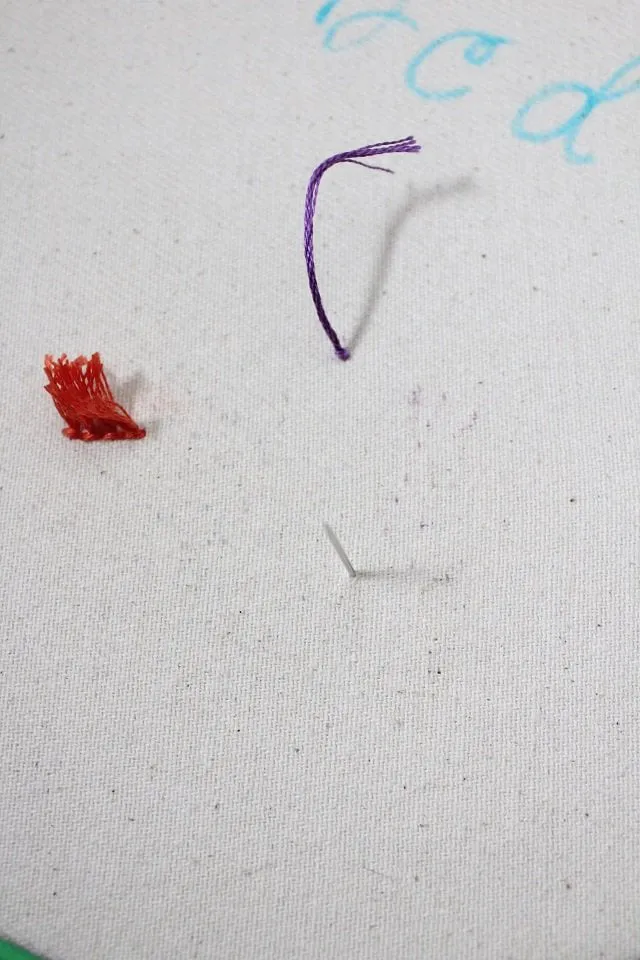
Once you are done stitching, bring your thread to the back of the embroidery, then tuck and weave the tails of the thread under nearby stitches.
How To Tie Off Thread
Finishing Knot
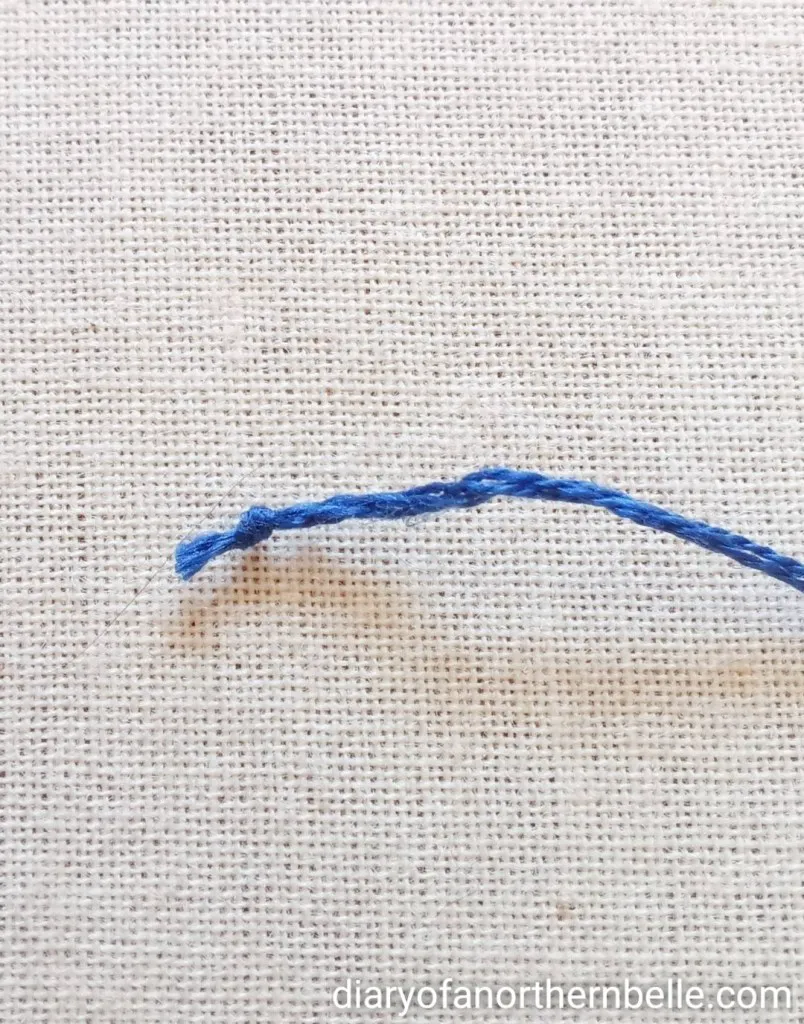
You can knot together tails of thread on the back of your embroidery that are close together to secure them.
However, if you have a single tail without another tail to knot it with, you can use this method to tie it off.
- Tuck your needle and thread under the stitches and leave a loop.
- Place your needle through the loop
- Then, pull the thread through the loop, pulling tight.
- Place your needle under the stitches again.
- Place your needle through the loop.
- Finally, pull the thread all the way through the loop, which will form a knot.
Anchor Stitch Method
- The red arrow indicates the short tail of thread that needs securing.
- Thread your needle with a new piece of thread and place your needle under a few stitches nearby the tail.
- Pull the thread halfway through. Now you should have 2 additional tails of thread (black arrows).
- Tie the two ends of this new thread together.
- Then tie the shorter thread (red arrow) to one of the other tails of thread (black arrow).
- Trim the thread. Everything should now be secure!
Conclusion
And there you have it! Knotting embroidery thread is no longer a mystery. With these methods under your belt, you’re ready to tackle any embroidery project.
Remember, practice makes perfect, so don’t be discouraged if your first few knots aren’t quite right. Keep going, keep refining, and soon, you’ll be knotting with ease and confidence. Now you can start embroidery with these tips.
Happy embroidering! Here’s to creating beautiful, knot-free masterpieces, one stitch at a time.
Embroidery Digitizing & Vector Art Services
Image Source
Ending embroidery stitches neatly is just as important as starting them.
- Starting with a long tail
- Leave a short tail of thread when finishing your stitch.
- Weave the tail into the back of your stitches to secure it.
- Starting with anchoring stitches
- Make small overlapping stitches on the underside to hold the thread in place.
- Trim any excess thread for a clean finish.


Tegs:
Search
Recent Posts
Subscribe to Updates
Get the latest posts and fashion insights directly in your inbox.