How to Make Decoupage Medium: Simple DIY Recipes for a Unique Finish
How to Make Decoupage Medium: Create Stunning Decoupage Projects with Homemade Medium
How to Make Decoupage Medium: Create Stunning Decoupage Projects with Homemade Medium
Conclusion
In conclusion, making your own decoupage glue at home is a cost-effective and easy way to enhance your crafting projects. With just a few simple ingredients and steps, you can create a high-quality glue that works just as well as store-bought options. Plus, by making your own glue, you have the ability to customize the consistency and finish of the glue to fit your needs.
The flour and water mixture paired with vinegar creates a strong adhesive that is perfect for decoupage projects. Boiling the mixture helps to activate the binding agents in the flour and create a smooth, consistent texture. The cooling process allows the glue to thicken, making it easier to apply and creating a durable finish.
When using decoupage glue, it’s important to remember to apply it in thin, even layers to avoid excess moisture and wrinkling. It’s also helpful to apply a coat of the glue to both the surface you are sticking the paper to and the back of the paper itself for a secure hold.
As with any crafting project, experimentation and practice can lead to improved results. Don’t be afraid to try different techniques and materials to find what works best for you.
So next time you’re looking for a budget-friendly way to add a special touch to your art or home decor projects, try making your own decoupage glue. You might be surprised at the professional-quality results you can achieve with just a few simple steps.
Make Your Own Decoupage Glue
As I mentioned earlier, I used to make my own DIY decoupage Glue by mixing equal parts of a white school glue with water. I know it sounds too easy, but I have loads of beautiful DIY objects and furniture to prove that it works. I encourage you to experiment with products and to try making your own. You will discover the formula that works best for your projects.
You actually need only a few tools to accomplish a beautiful decoupage finish. Tools that are helpful for your projects include:
- Bone folderorBrayer To smooth out wrinkles in your paper and remove excess glue.
- Artist BrushorSponge Brush To spread your decoupage medium .
- Scissors To fussy cut out the pictures you want to decoupage.
- Craft Knife To cut tiny details or intricate areas.
- Tweezers Helpful for positioning small images.
- Damp rag To wipe off excess glue.
- Decoupage Medium – Mod Podge, DecoArt Decoupage, Elmer’s Glue
Decoupage Medium
Decoupage medium is an all-in-one sealer, glue, and finish used for creating decoupaged works of art. Use it on wood, fabric and other porous surfaces. It dries clear and holds your glued-on paper cuts tight.
Getting Started With Your Project
Once you've gathered all of your supplies, you can start on your project by following along with these easy directions.
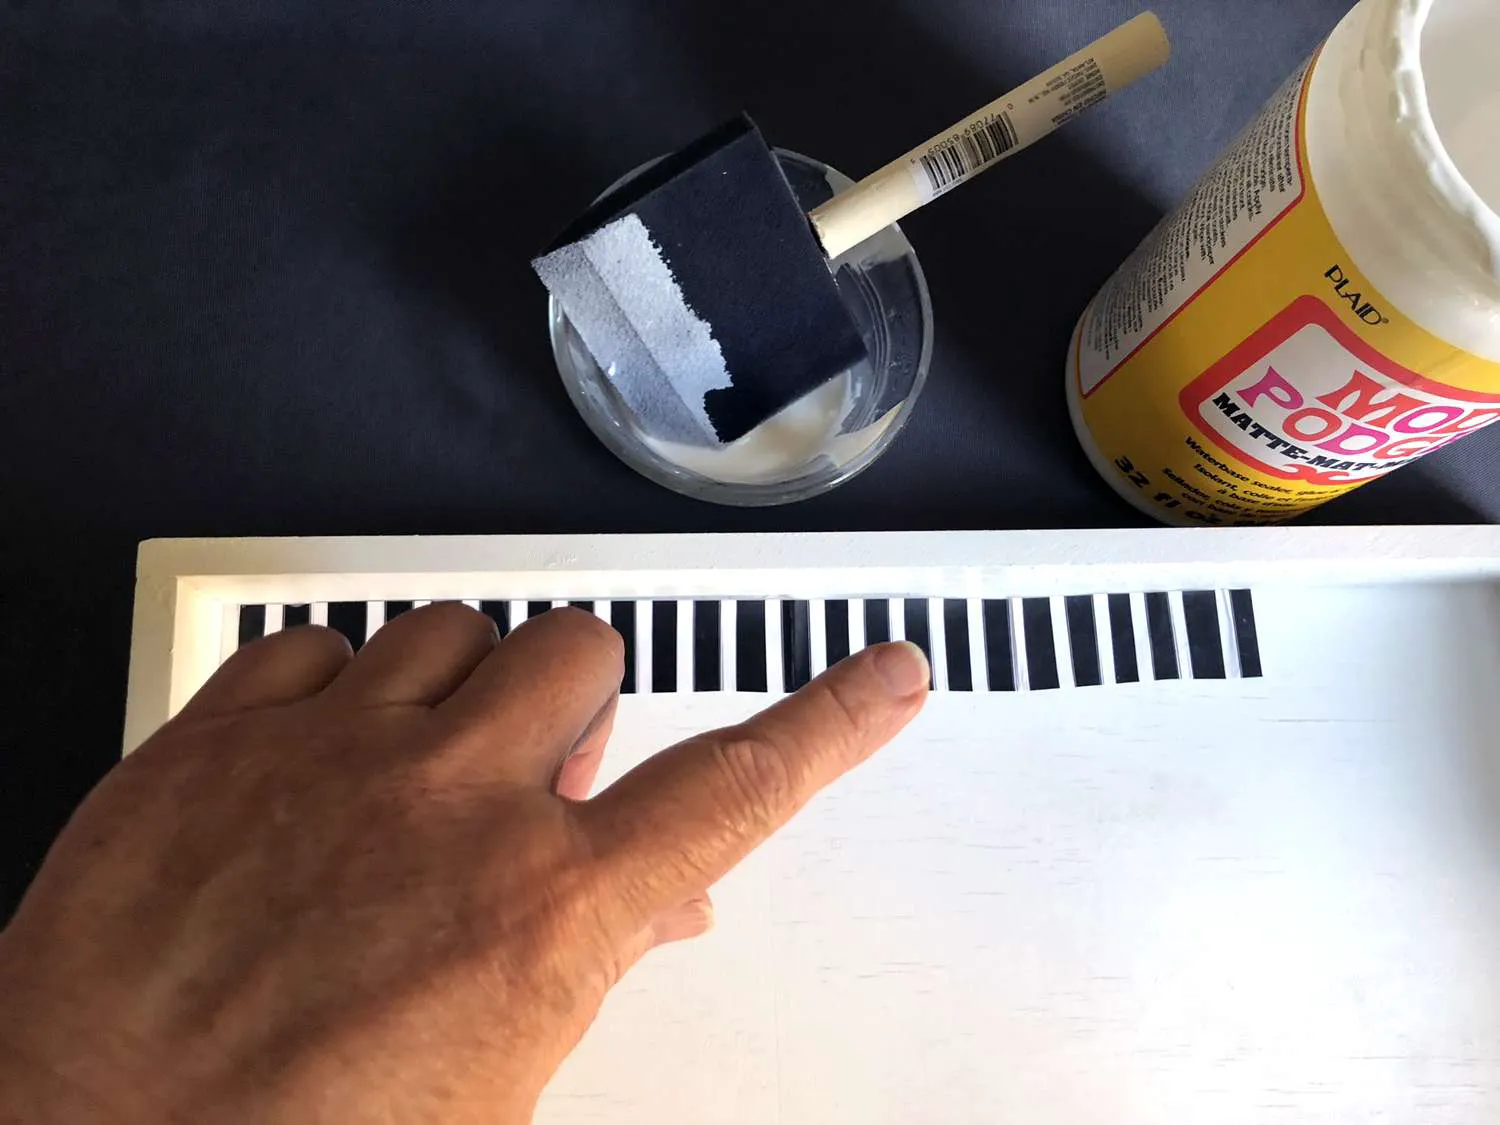
Make sure the item you're decoupaging is clean, removing any dust or dirt. It must also be dry. If you're going to paint your item first, the paint must be totally dry before you start decoupaging (no tackiness). This example used spray paint with an added-in primer to paint a wooden tray. Make sure the paint you use is appropriate for the object you intend to decoupage.
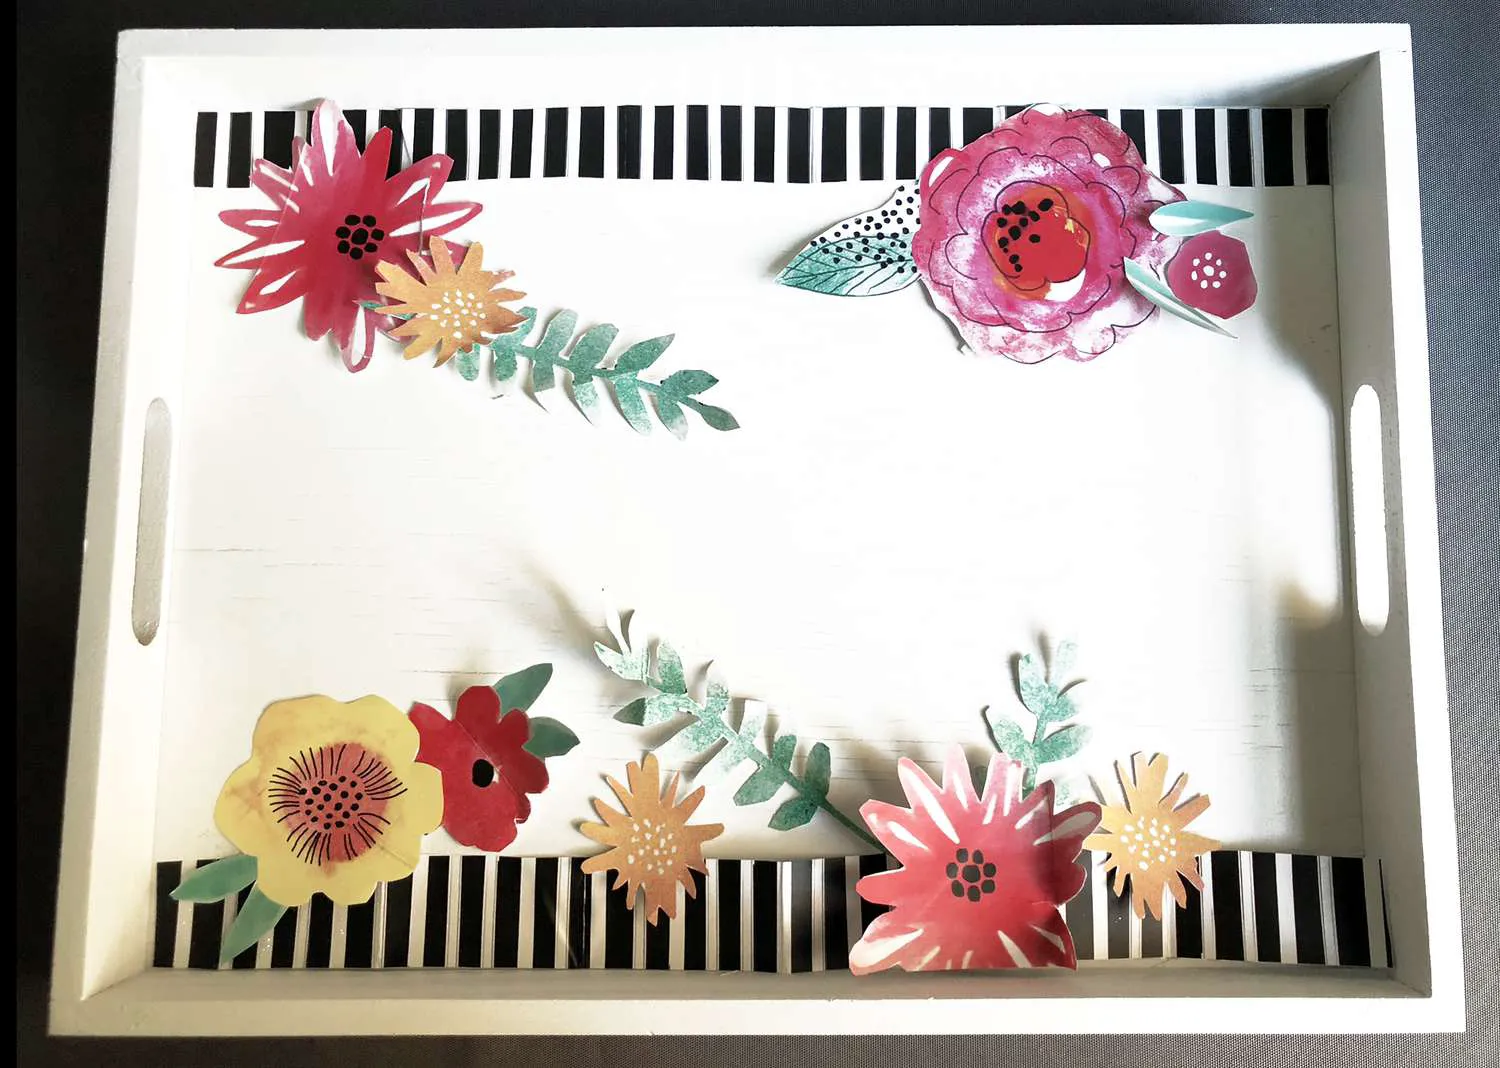
Cut out the pictures you are going to use. It helps to use an X-Acto knife to cut out the paper pieces that have quite a bit of intricate detail.
Before you add glue, arrange the pictures onto the item you are decoupaging until you like the way they look. The pictures can be in any placement you like and can also overlap.
Stick the picture on the decoupage medium. Use your finger to gently push down the picture (for a large picture, start from the center and work your way out) and push out any wrinkles and excess medium. You can also use a bone folder or brayer to do this.
Continue with the last two steps until all of your pictures are glued on.

Tegs:
Search
Recent Posts
-
What Can You Make with Embroidery? A Guide to Creative Projects
Apr 14 2025
-
Create a Stunning Wall Hanging with This Easy Macrame Tutorial
Apr 14 2025
-
Learn How to Knit Bobbles: A Simple Guide with Pictures
Apr 14 2025
-
Embark on Your Embroidery Journey: A Beginner's Guide to Creating Beautiful Stitches
Apr 15 2025
Subscribe to Updates
Get the latest posts and fashion insights directly in your inbox.