Quilling for Beginners: Learn the Basics of Paper Filigree Art
Quilling for Beginners: Master the Art of Quilling with These Simple Techniques
Quilling for Beginners: Master the Art of Quilling with These Simple Techniques
Gather Your Quilling Supplies
Right off the bat, let's talk about what you'll need to start dabbling in quilling art. The good news is that the list isn't extensive or expensive. Here's what you'll need:
- Quilling paper: The star of the show! Quilling paper comes in a variety of colors and widths. For beginners, a width of 1/8 inch is a good place to start.
- Quilling tool: This tool helps you roll the paper into spirals. A slotted quilling tool is best for beginners—it has a small slot at the end where you insert the paper strip and start rolling.
- Glue: You'll need this to secure the ends of your paper coils. A fine-tip applicator will help you apply glue precisely where you need it.
- Workboard: A corkboard or foam board makes a great surface to pin your quilling designs on.
- Pins: These are used to hold your quilling shapes in place on the board.
- Scissors: A good pair of sharp scissors is always handy in any crafting project.
Now that you've gathered your quilling supplies, you're one step closer to mastering how to quilling art. Remember, it's not about how fancy your tools are—it's about the magic you create with them!
Paper Quilling Techniques: Basic Quilling Shapes
If you want to learn how to do paper quilling, learn the basic shapes. That way you can complete simple paper quilling projects before moving on to more advanced quilling shapes. In Paper Quilling Techniques: Basic Quilling Shapes, you will learn the most basic quilling shapes, from circles and squares to teardrops and leaves. Once you have mastered these shapes, you will be able to learn the next most difficult shapes, such as the eccentric teardrops and marquise or the wave and triangle. We are sure that once you learn these shapes, you will want more.
After learning what the most common paper quilling shapes are, you can start to create. That's why we have included a bonus section at the bottom. In this bonus section, you will see links that will teach you the Paper Quilling Tools and Basics and more. After you get your tools, check out the simple paper quilling tutorials to find the best quilling ideas for beginners. If you want more, you'll find our most popular quilling collection on AllFreePaperCrafts. Get ready to be a quilling master!
You can get the full infographic by clicking the link below!
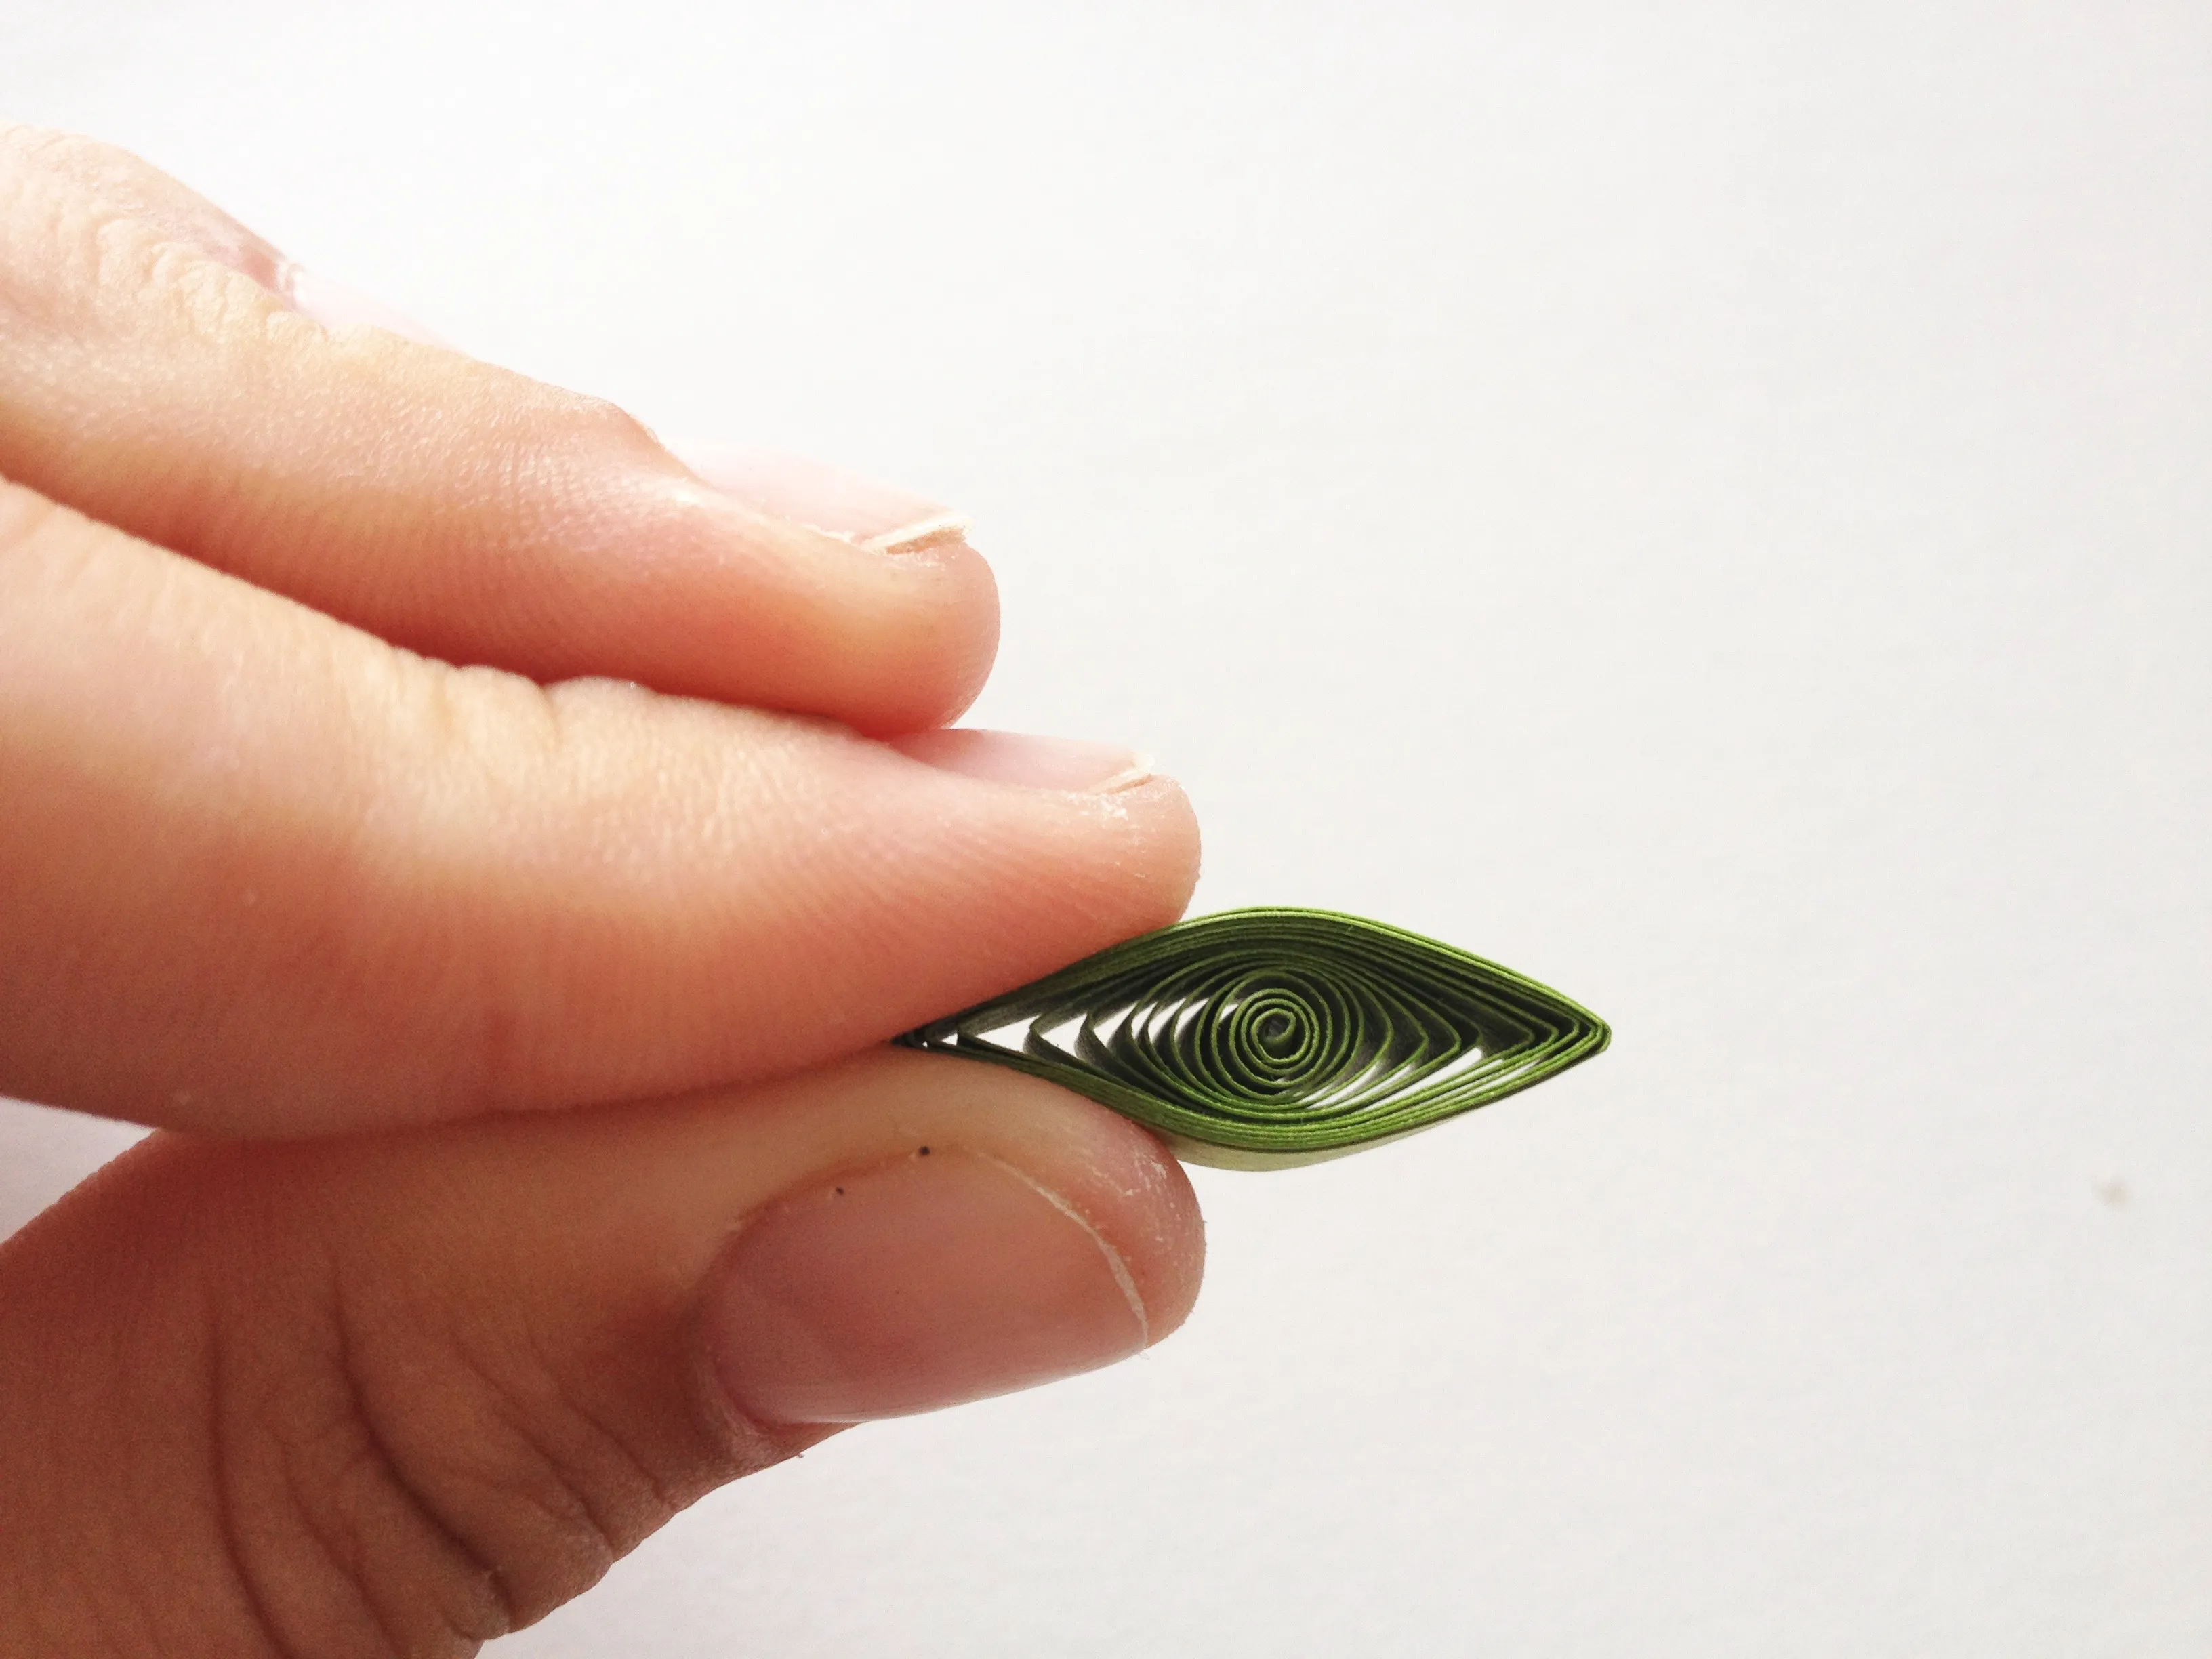
Quilling Leaves
Simple Quilled Leaves - Leaves are another versatile shape because they can be used for flower leaves or petals and range from simple to complex. This simple leaf is very similar to the teardrop but often thinner in shape.
Curved Quilled Leaf - This is also known as a curved teardrop. This is the fancier of the quilled leaf-like shapes. These leaves get a curved shape, which is done by bending the leaf or teardrop shape. Add more or less of a curve as desired for your quilling art pieces.
Learn Basic Quilling Shapes
Just like learning the alphabet is the foundation for reading and writing, mastering basic quilling shapes is key to creating beautiful quilling art. These shapes are the building blocks of all quilling designs. Let's get familiar with a few of them:
- Loose Coil: This is the simplest quilling shape. You roll a strip of quilling paper around your quilling tool without gluing the end. When you release it, the paper unfurls slightly, forming a loose coil.
- Tight Coil: Similar to the loose coil, but for this one, you apply glue to the end of the strip before you release it from the tool, preserving the tight coil shape.
- Teardrop: Start with a loose coil, then pinch one end to form a point. Voila! You have a teardrop shape.
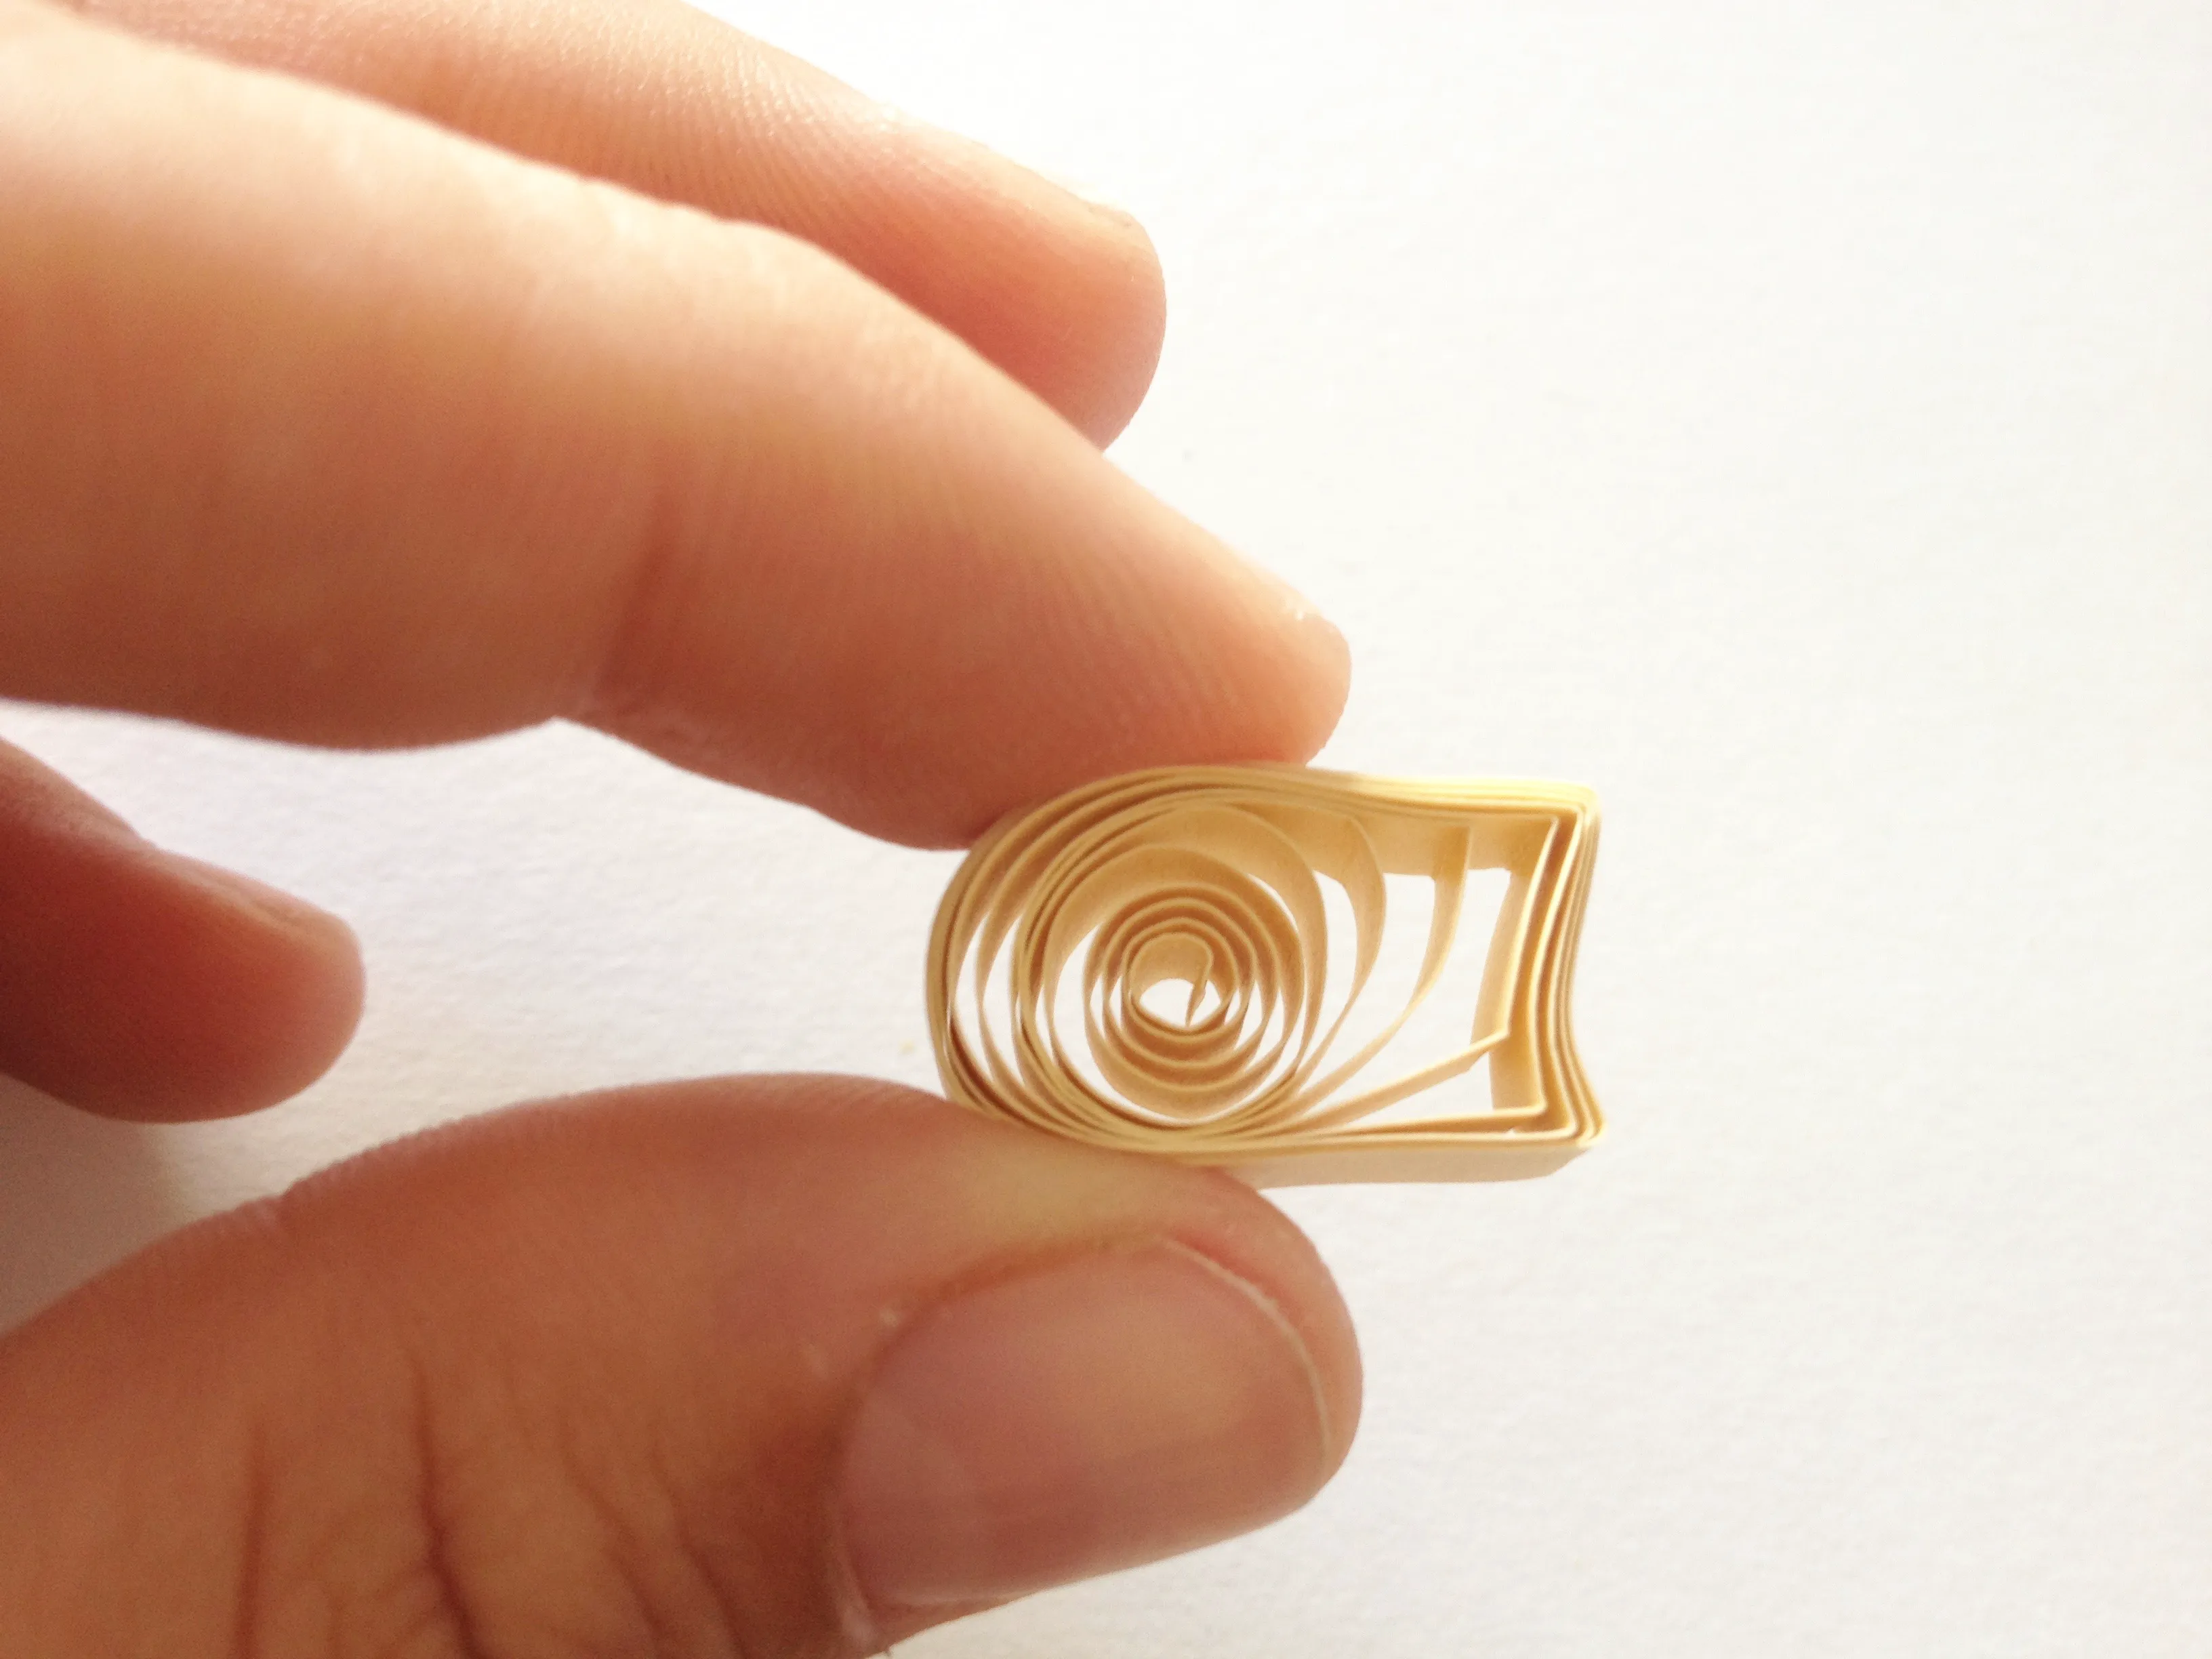
- Square: For this shape, create a loose coil and then pinch all four sides.
- Heart: Roll two loose coils, pinch both ends to form teardrops, and then glue the pointed ends together. That's how you create a heart in quilling art.
These are just a few examples of the basic shapes in quilling. As you progress, you'll find that there are dozens of shapes to learn. But for now, mastering these will serve you well in your journey of learning how to quilling art. Remember, practice makes perfect—so don't be disheartened if your shapes aren't perfect right away.

Tegs:
Search
Recent Posts
-
Get Started with Knitting: A Guide to the Basic Tools You Need
Apr 18 2025
-
Mastering the Art of Macrame: A Comprehensive Knot Guide
Apr 21 2025
-
Get Started with Knitting: Choosing the Right Basic Knitting Needles for You
Apr 24 2025
-
Find the Perfect Sewing Machine for Beginners: A Guide to Essential Features and Top Recommendations
Apr 27 2025
Subscribe to Updates
Get the latest posts and fashion insights directly in your inbox.