List of Basic Macrame Knots: A Beginner's Guide
Mastering the Art of Macrame: A Comprehensive Knot Guide
Mastering the Art of Macrame: A Comprehensive Knot Guide
Frequently Asked Questions
What are the 5 basic macramé knots?The 5 basic macramé knots are the Lark’s Head knot, Reverse Lark’s Head knot, Square knot, Clove Hitch knot, and Wrap knot. Although, depending on who you ask, the knots included in this list may differ slightly.
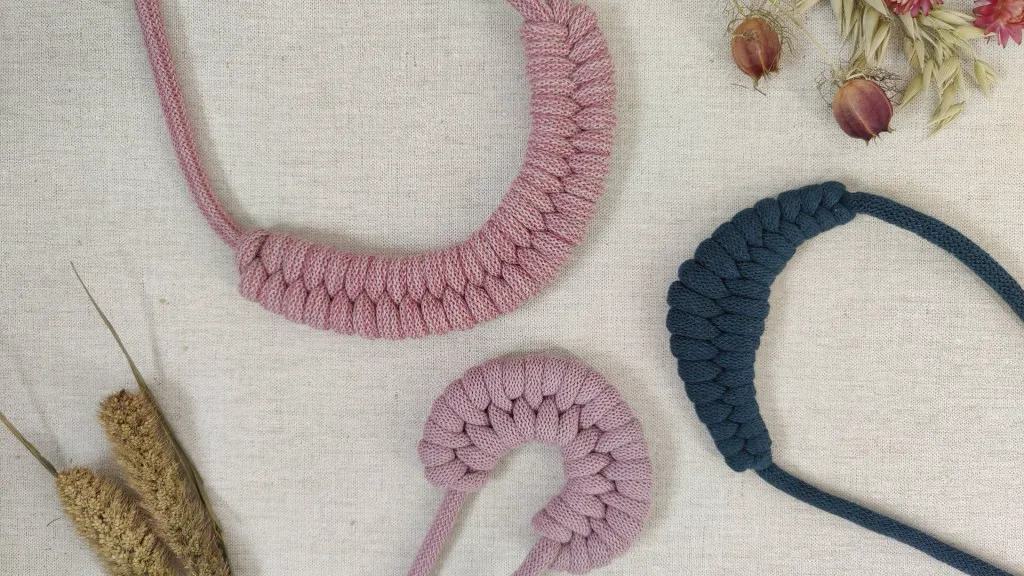
These 5 knots can be used to create an almost unlimited amount of macrame projects. The macrame knots can be tied together in different patterns to make anything as small as earrings right up to as large as hammocks.
What are some easy macrame projects for beginners?Three projects that are perfect for beginners are a fruit hanger, plant hanger, and macrame coasters. These projects provide opportunities to practice and master the 5 basic macrame knots, while creating some items you can be proud of!
What is the best macrame cord for beginners?It’s possible to start with any size and type of cord, but some macrame cords are easier to work with and will make the first few projects easier for beginners.
I recommend starting with 3-ply 5mm cord. The 3-ply (meaning 3 strands of fibres twisted around each other) holds together better when you untie and retie it, which is inevitable when first learning macrame. The size of the 5mm cord means that the knots are nice and large to see and easier to untie when required.
Although items created using metallic cord look amazing, avoid metallic cords to start with as they unravel really easily and are harder to work with than cotton cord.
Vertical Larks Head Knot
Horizontal and vertical larks head knots are the same when completed; they’re just constructed in different ways. Sometimes a simple horizontal larks head knot isn’t an option, because you’re using cords in the middle of a project and you only have one loose cord to work with. That’s where the vertical knot is used.
The simplest way I use to remember this knot: over-under-over, then under-over-under.
Over-under-over. To make a right knot, start at the right and travel to the left with the knotting cord, over the carrying cord. Make a loop around the carrier and over the same knotting cord (1).
Under-over-under. Travel to the left behind the carrier, then make a loop around the front of the carrier and under the knotting cord, parallel to where you started (2). Pull sideways to tighten.
In the bracelet shown below, I used vertical larks head knots to surround the wooden beads and switch square knots in between beads to change colors. This bracelet was made with 6 strands of unwaxed hemp: two strands through the eye of the bead, and two strands on either side of the bead.
Share this:
Larks Head Knots
Fold the cord in half and place on top of the carrier (or ring, buckle, etc.) so that a small loop sits above it (1). With both ends, travel behind the carrier and through the loop from behind (2). Tighten by pulling straight down on the ends (3).
Basic Macrame Tutorials for Absolute Beginners
Did you know that most Macrame projects you see on Instagram and Pinterest are created with just 2 to 3 different knots?
When you’re first starting with Macrame it can be quite overwhelming to choose your first project and figure out which knots are most important to learn.
In this blog post, I’ve gathered my favorite Macrame tutorials for absolute beginners that make the perfect first project to try and let you practice the most important Macrame knots!
If you want to discover all the fun and amazing things you can make with Macrame, make sure to check out my overview of all Macrame Projects for Beginners!


Tegs:
Search
Recent Posts
-
Artisan Cheese List: Discover the Finest Cheeses from Around the Globe
Apr 19 2025
-
Boost Your Minecraft Adventures with the Latest Crazy Craft Mods
Apr 20 2025
-
Find the Perfect Embroidery Company in the USA: A Comprehensive List
Apr 23 2025
-
Pfaff Sewing Machine Models: Find the Perfect Machine for Your Needs
May 3 2025
Subscribe to Updates
Get the latest posts and fashion insights directly in your inbox.