What to Make with Embroidery: Unleash Your Creative Spirit
From Clothing to Home Decor: Explore Embroidery's Endless Possibilities
From Clothing to Home Decor: Explore Embroidery's Endless Possibilities
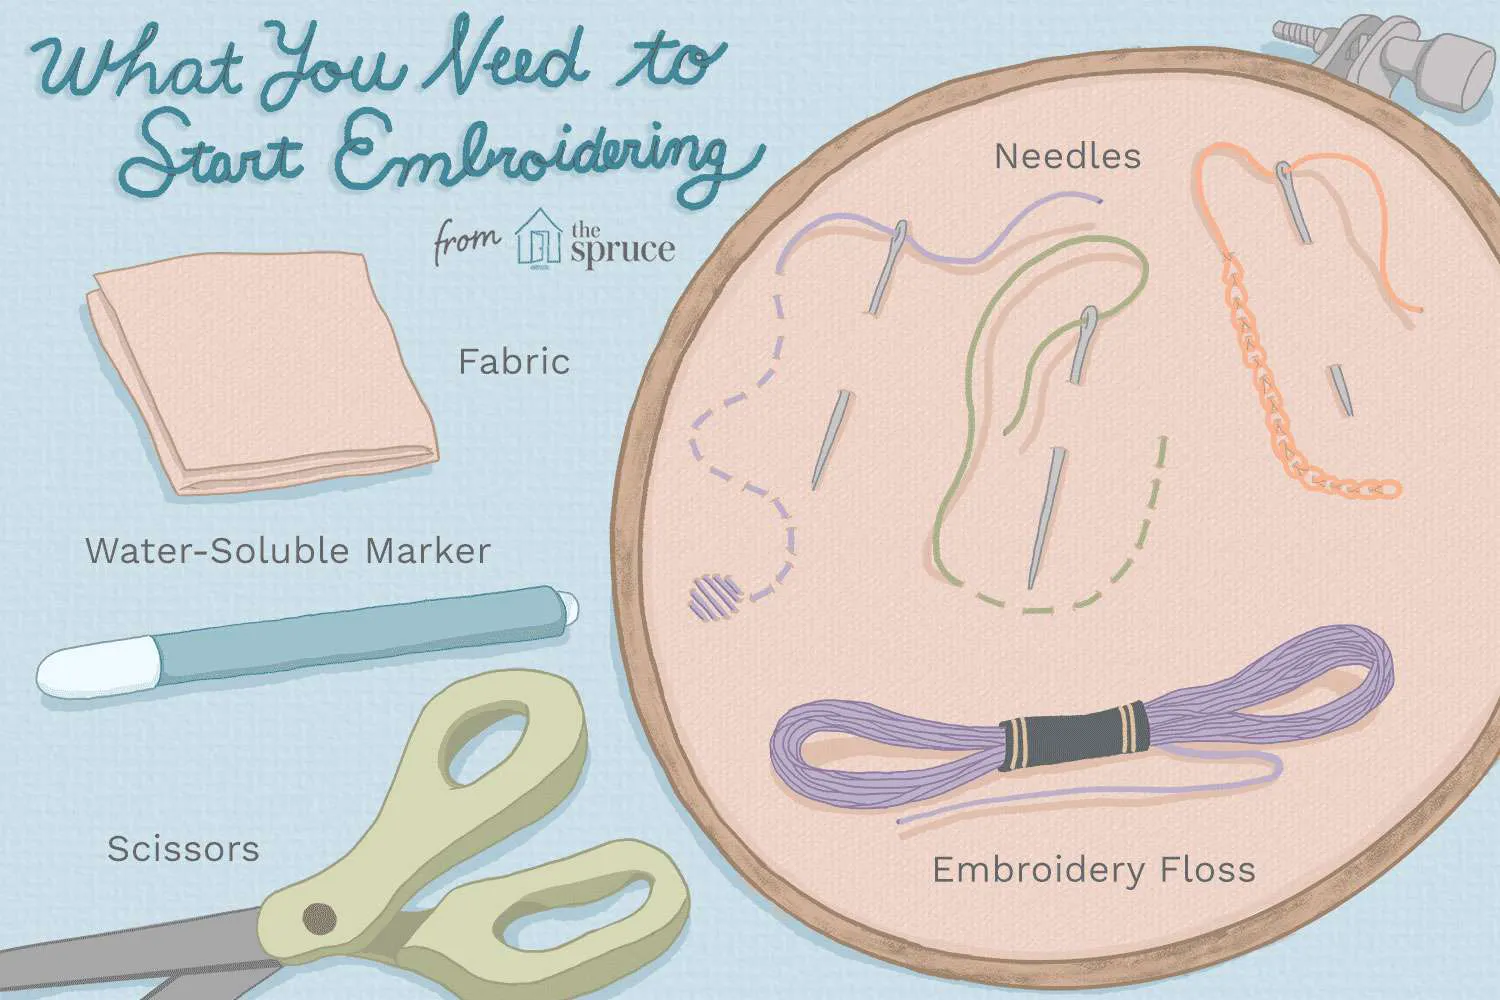
What You'll Need
- Fabric: For your first embroidery project, choose a light-colored quilting cotton or evenweave fabric, such as linen. If buying by the yard, 1/4 yard will be enough for several projects. Avoid using Aida cloth, even though it's sold alongside embroidery floss—it's best for cross-stitch patterns.
- Embroidery floss: Select a few colors of cotton embroidery floss. DMC brand is easy to find, inexpensive, and good quality, ideal for those learning how to start embroidery projects. Avoid floss designed for crafting projects (such as friendship bracelets), as it will be frustrating to work with.
- Embroidery hoop: There are many styles of embroidery hoops available, but all you need to get started is a basic wooden or plastic hoop. A 6-inch hoop will serve you well for a variety of projects.
- Needles: Like hoops, there are many kinds of embroidery needles out there. Any sharp needle with an eye large enough to thread embroidery floss through will work. However, the easiest option is to choose a pack of different sizes of sharp needles labeled for embroidery.
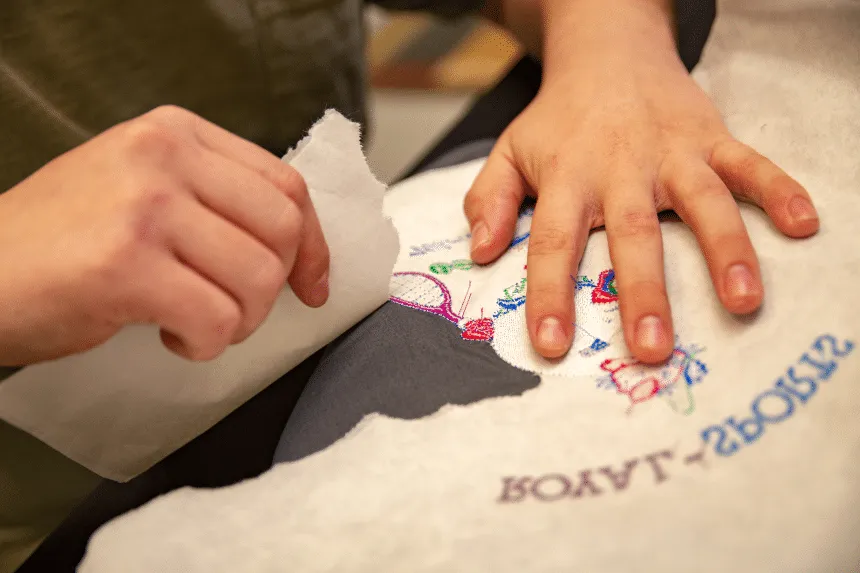
- Water-soluble pen: Depending on your project, there are a few ways to transfer a pattern to your fabric, but tracing is the simplest. A regular pencil will work, but to ensure that you don't leave any stray markings, use a water-soluble pen.
- Scissors: There are scissors made for different tasks in embroidery, but before you buy anything fancy, it's OK to use any scissors you have around. Just be sure that they will cut the floss cleanly so its end isn't frayed.
- Straight stitch: This simple stitch is so basic you probably already know how to do it without even learning it. Making short straight lines is something you'll do a lot as you embroider.
- Back stitch: For doing any kind of outlining, back stitch works and it's so easy. Focus on making each stitch the same length and you'll have something that looks great!
- Starting/stopping: If you want to learn the best way to start and stop, there are some special techniques to follow. However, it's also okay to start and end with a knot.
Step 3: Threading the Needle and All About Floss
Needle threading can be a little complicated at times. I've found the easiest way to do it is to wet the very end of the floss (yes, put it in your mouth.) and squish it between your thumb and forefinger. This will flatten it out and allow it to pass through the eye of the needle with less fuss.
Also: keep in mind that you do not double the floss as you sometimes do with thread. You're simply going to pull the thread through the eye and let a few inches hang loose. You'll knot the other end as usual. (And make sure to cut off the loose stuff after the knot - it'll make your work neater! Never leave more than 1/2 inch behind the knot, or it'll get tangled while you stitch.)
Most floss is multi strand. The most common is six strands. You can divide the floss for more detailed work. The best way to do this it to use your fingernails to separate the strands and then pull is apart slowly. :)
Step 7: How to Make a French Knot
French knots are considered to be a nightmare for most embroiders, but I love them. They're very delicate and cute and they never look the same.
Their size can also vary greatly, so you can use them in a ton of ways. (Check the first photo - the top row is French knots made with six strands of floss wrapped once, the second row the knots are wrapped twice!) You can use them for the center of flowers, as eyes, for polka dots, and even as lines if you're feeling patient. :D I use them most often while dotting i's in text.
To pull off a french knot successfully, you'll need to follow these steps:
- pull the floss through to the front of the fabric.
- wrap the floss that's between the fabric and the needle around the needle 1, 2, or 3 times. (One time is a small knot, 2 is medium, 3 is large.)
- hold the floss tightly so that it is wrapped around the needle.
- with your other hand, push the needle through to the back of the fabric very close to where the floss emerged.
- keep holding the floss taut and pull the needle all the way through.
- practice this a few hundred times until it becomes second nature. :D
You'll knot these on the back as normal. For the cleanest work (if you're not making loads of them!), tie off between each french knot. Otherwise, you'll have tails everywhere if the knots are spread out!
How to create embroidery design
How are your artistic skills? While some people are naturally gifted when it comes to art, others are a little apprehensive about putting pen to paper. Even if you’re a bit worried, however, it’s a good idea to simply start doodling. You might just amaze yourself at what you can create.
Even if you eventually need some help finishing your design, you should always start by doodling the first drafts. This way you get a sense of scale, details, and placement. Perhaps you want to combine some words with some images. Doodling this out will help your brain organize your design.
Once you have a rough idea of your embroidery design, there are then a few options to consider. You can have a more artistic friend finish off the design for a more professional look. Or, you can turn to the computer and use special software to create the image you want. Either way, it will probably take a few drafts before you’re satisfied with your creative process.

Tegs:
Search
Recent Posts
Subscribe to Updates
Get the latest posts and fashion insights directly in your inbox.