V-Neck Pullover Knitting Pattern: Free and Paid Options
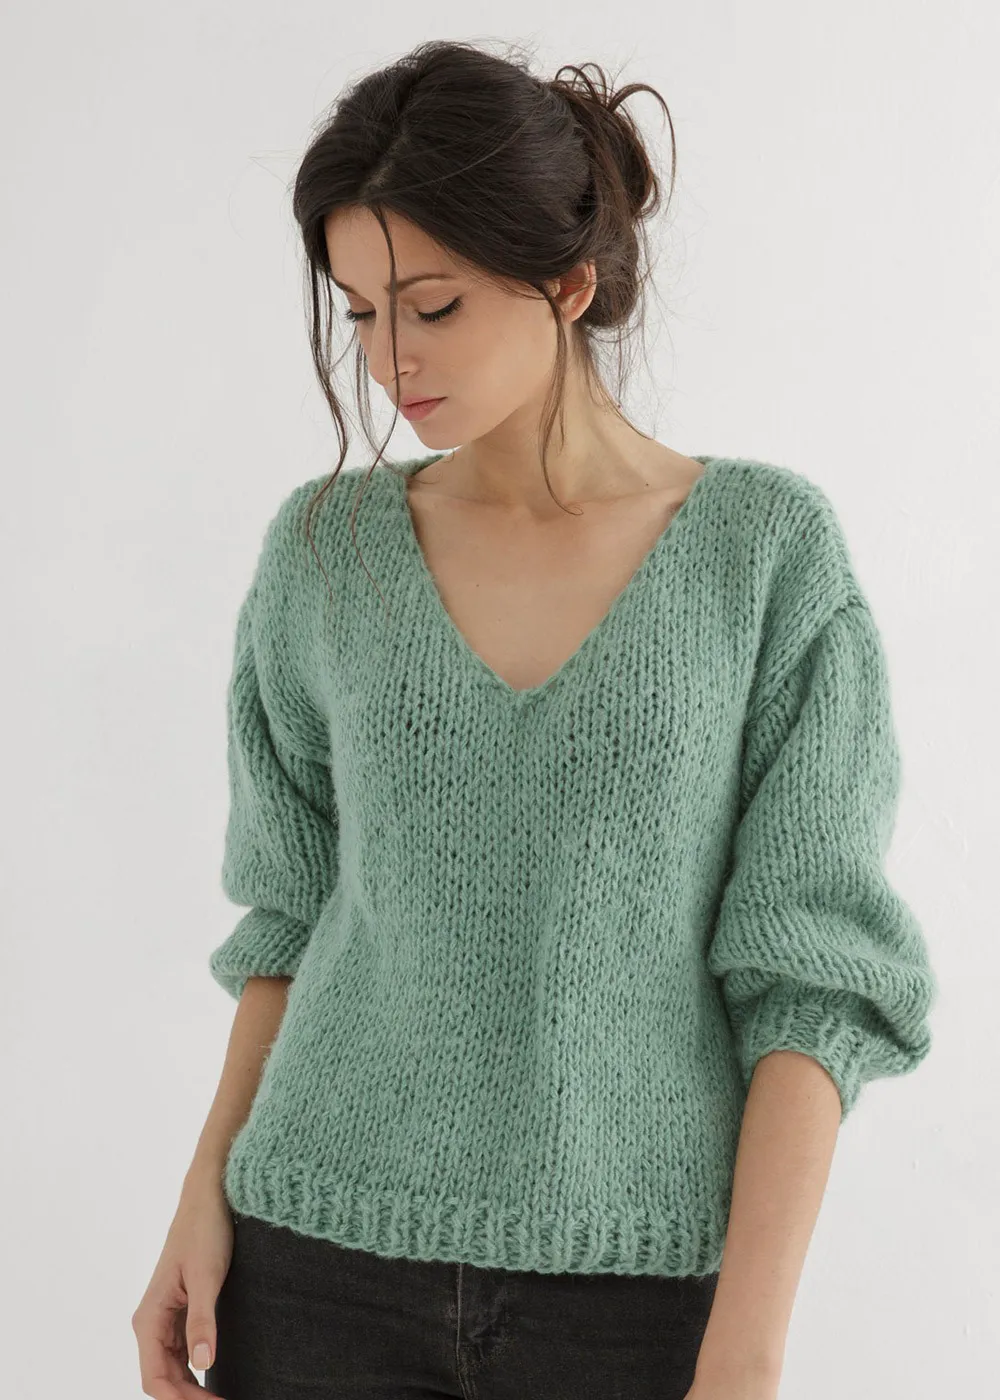
V-Neck Pullover Knitting Pattern: Craft a Classic and Cozy Sweater
V-Neck Pullover Knitting Pattern: Craft a Classic and Cozy Sweater
Urban Aran Pullover by Patons
Get the free pattern and try your hand with this adorable Patons Shetland Chunky.
You’re going to look fabulous in this winter warming cabled pullover, featuring a mix of ribbing to set off the diagonal cables. Try this colour or pick from the wide range of shades from Patons Shetland Chunky. To get the look you desire for you or is it a gift for a friend? Once made you are going to get so much wear from this chunky knit Urban Pullover, you will find yourself reaching for it year after year.
On that note take great care of your pullover by:
- Washing on a delicate cycle
- Do not iron
- Dry flat whenever possible / on a low heat setting
Download your free pattern here.
Seed Stitch Stripes by Paton
Do you fancy knitting this handsome relaxed striped pullover using Patons Classic Wool Worsted?
This pullover is knitted in Seed Stitch leaving a super fabulous look to your new project, an easy skillset so there’s nothing to stop you. Those chilly days and nights will be all the more enjoyable when you can slip into your Patons Seed Stitch Stripes and enjoy that time of year without fretting about the cold.
Choose the shade for your personality from Patons Classic Wool Worsted – You can make a matching one for your partner or a surprise present for that special couple who would love to’ don’ a matching pullover as their loved one.
Download your free pattern here.
Treat your finished project right!
Make sure you read the care directions closely so your hard work ages gracefully.
- Do Not Bleach
- Do Not Dry Clean
- Do Not Iron
- Hand Wash in Cool Water
- Dry Flat
Everything you need to make your new project is included in this kit! Time to get stitching, and don’t forget to share your progress!
Construction
This easy sweater is knit flat and from the bottom up. The body ribbing and sleeve cuffs are knit in 2×2 ribbing. There are 4 pieces: the back panel, front panel and two sleeves. After knitting you will sew the panels together, sew the sleeves together, and then add them to the main body of the sweater. I bound off and seamed the shoulders. You may choose to do a 3 needle bind off if you prefer.
Finished Measurements
After blocking 38 [42.5, 47, 51, 55.5, 60, 64, 68, 72.5] (96.5 [108, 119.5, 129.5, 141, 152.5, 162.5, 173, 184] cm) bust circumference.
Intended to be worn with 8 – 10” (20.5 – 25.5 cm) of positive ease at the bust.
The model is 5’ 2” and wears size M with 11” (28 cm) of positive ease at the bust.
It’s best to take your bust measurements and compare it to the bust circumference of the finished sweater measurement to choose the right size. And, of course, be sure to check and meet gauge for best fit!
Size
XS [S, M, L, XL, 2X, 3X, 4X, 5X]
To fit 30 [34, 38, 42, 46, 50, 54, 58, 62] (76 [86.5, 96.5, 106.5, 117, 127, 137, 147, 157.5] cm) bust circumference.
Yield: 1Prep Time: 30 minutesActive Time: 8 hoursAdditional Time: 30 minutesTotal Time: 9 hoursDifficulty: EasyEstimated Cost: $20-$40Learn how to knit this simple v-neck in kids sizes 2-16!
Materials
- WeCrochet’s Brava Speckle* #4 medium worsted weight yarn (100% acrylic, 218 yd (199 m) per 100 g skein in shade Cake Pop Speckle: 2 [3, 3, 4, 4, 5, 5, 6] skeins; blue version in Tidal Speckle.
Tools
- You'll need both 4 & 4.5 mm needles (size US 7 & 7.5), or sizes needed to meet gauge.
- Measuring tape, yarn needle, stitch markers (2) and scissors.
Instructions
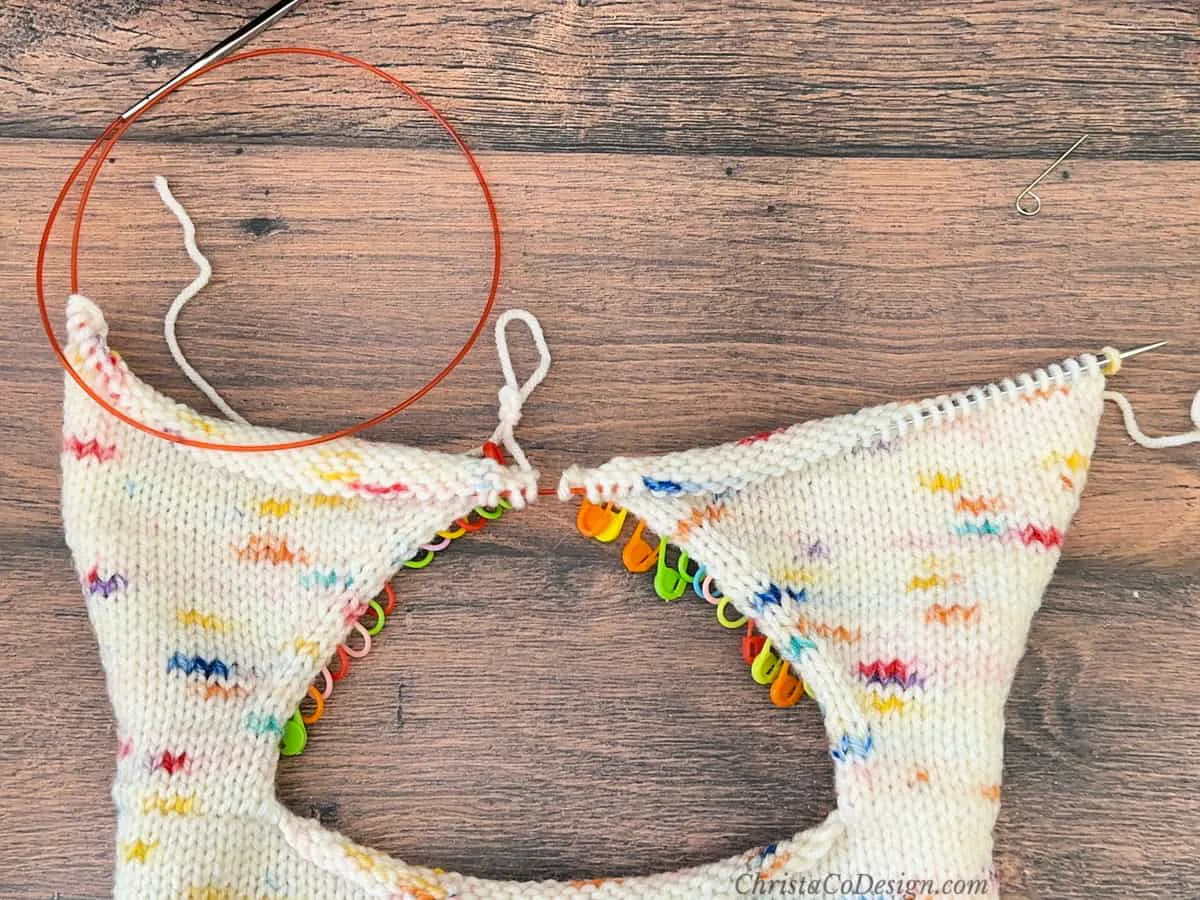
Upper Back
Using larger needles, cast on 52 (56, 60, 64, 68, 72, 76, 78) sts using the cable cast-on.
Set-up Row (RS): K 15 (16, 18, 18, 20, 22, 23, 24), place locking stitch marker through cast-on edge, k 22 (24, 24, 28, 28, 28, 30, 30), place locking stitch marker through cast-on edge, k to end.
These markers indicate the placement of the back neck.
Row 1 (WS): P all.
Row 2 (RS): K all.
Rep Rows 1 & 2: 14 (16, 17, 18, 19, 21, 23, 24) more times, then rep Row 1 one more time. Total rows = 31 (35, 37, 39, 41, 45, 49, 51) measuring 5.25” (6, 6.25, 6.5, 7, 7.5, 8.25, 8.5)" from cast-on edge.
Cut yarn and place 52 (56, 60, 64, 68, 72, 76, 78) sts for the Upper Back on a stitch holder or waste yarn. In this video I show you how.
With RS facing, turn the Upper Back so that the cast-on edge is at the top and the live sts are at the bottom. The edge to the left of the back neck is the Left Shoulder and the edge to the right is the Right Shoulder.

Tegs:
Search
Recent Posts
-
A Step-by-Step Guide to Crocheting a Square Neck Top with Long Sleeves
Apr 18 2025
-
Crochet Cowl Neck Scarf: A Stylish and Cozy Winter Accessory
Apr 18 2025
-
Easy Sewing Project: Create a Versatile V-Neck Boxy Top with This Pattern
May 4 2025
-
Churidar Neck Embroidery Designs: Elevate Your Fashion with Embroidery
May 13 2025
Subscribe to Updates
Get the latest posts and fashion insights directly in your inbox.