The Perfect Pairing: Discover the Best Sewing Needles and Threads for Every Project
Sewing Essentials: A Guide to Choosing the Right Needles and Threads
Sewing Essentials: A Guide to Choosing the Right Needles and Threads
A Simple Guide to Threading a Needle and Tying a Knot
This article was co-authored by Lois Wade and by wikiHow staff writer, Jessica Gibson. Lois Wade has 45 years of experience in crafts including sewing, crochet, needlepoint, cross-stitch, drawing, and paper crafts. She has been contributing to craft articles on wikiHow since 2007.
There are 11 references cited in this article, which can be found at the bottom of the page.
This article has been viewed 1,777,659 times.
Almost all sewing projects no matter how big or small usually start with threading a needle. To make this starting step easier, work with a needle that's large enough for your thread and trim the end so the fibers don't poke out of the needle's eye. Once you've got the thread through your needle, create a quick knot at the bottom. Then, you're ready to sew!
Threading a Needle and Tying a KnotGrab the end of a piece of thread and push it through the needle’s eye. Or, slide a needle threader through the eye and push the thread through the threader’s opening. Then, hold both thread ends together and loop them around your finger. Roll the thread off your finger as you pull it to tie a knot.
StepsPart 1Part 1 of 3:Step 1: Basic Sewing Tools.
These things will make you a nice little sewing kit:
- Needles - You'll want to look for "sharps" for basic sewing. "Betweens" are used for quilting. "Embroidery" or "crewel" needles have larger eyes (an eye is the hole at the top of the needle) and are used with thicker threads, like upholstery or embroidery floss.
- Scissors - You'll want a good pair of shears (normally sold with names like "dressmaking shears") and a pair of pinking shears. Pinking shears have small triangular teeth that cut the fabric in a such a way that it lessens unraveling. Smaller embroidery scissors are also good for cutting threads.
- Pincushion & Pins - You'll pin most everything you sew to keep the fabrics from slipping. A pincushion keeps them neat and tidy.
- Measuring tape - For measuring. ;)
- Air soluble/water soluble marking pens: perfect for embroidery and using patterns!
- Seam Ripper - This will help you correct mistakes.
- Beeswax - Sounds odd, I know. But essential for hand sewing. When you run your thread over the beewax, it gives the thread a nice coating that will keep it from tangling and make it stronger.
- Thimbles - These can be wood, leather or metal. They'll keep your fingers from getting sore and/or pricked.
- Thread or Floss - An all-purpose cotton thread is good for most things. However, there are many threads to choose from. You'll often pick thread based on your project - cotton fabric = cotton thread, silk = silk thread, etc. Floss is much thicker and normally comes in six-string strands. You'll use this for embroidery and finishing.
- Fabric - Might I recommend going to your local sewing store and buying some remnants to start off with? Remnants are small bits of fabric from the end of a fabric roll. They're quite cheap, I love them!
- Sewing Needle Booklet - You can either keep the packaging the needles come in or make your own! I made my own! You can get the pattern for it here: https://www.instructables.com/id/how-to-sew-a-needle-book/, or buy one in my etsy store!
You may also want to invest in an iron, self-healing cutting mat, rotary cutter, and rulers. But they're not entirely necessary!
And now that we have the basics, let's thread a needle!
Easy way to thread a needle (With and without a needle threader)
Threading the needle without losing sanity
Regular sewing has made me a little cross-eyed. And nothing to say about the frustration of threading needles. Not anymore – I have learned some tricks along the way, which has made me an expert in starting sewing without the swearing, which was all too frequent earlier.
The most easy way to thread a needle is using a needle threader. Other tricks include using a paper, using a self threading needle and other tips which are detailed below.
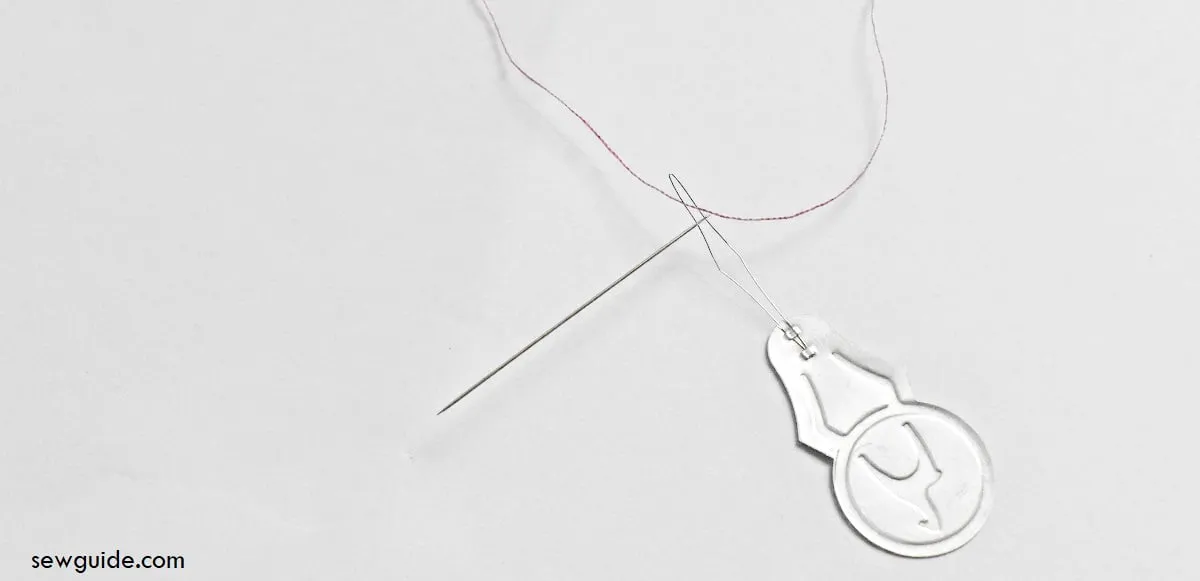
First, you can thread the needle the natural way
The age-old tried and tested way of threading the needle – by cutting the thread at an angle and getting it through the needle eye. Slightly difficult if you are long sighted.
Squint your eyes and pass the thread’s cut end through the eye of the needle.
Before attempting this, you should cut the thread end at an angle so that the end is very thin – the 45-degree angle if you could- with very sharp scissors.
Then pinch the cut end (edge) of the thread in between your forefinger and thumb and proceed slowly (stealthily) to the static needle.
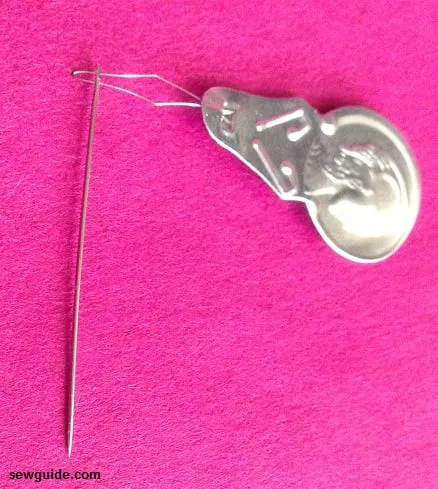
Be very careful with the needle threader. The thin wire is very fragile. I have thrown a couple of fractured needle threaders in the wastebasket – which talks a lot about my gentleness and carefulness.
This small tool is very inexpensive but being gentle with your needle threader works to your advantage – you have this handy tool when you want it the most.
Watch this video to learn how to thread a needle with just thread :
How to thread a needle without a needle threader
What Sewing Machine Needles to Keep In Your Sewing Box
Choosing a sewing needle may seem very complicated with all the options, but just know in many cases, there are several right answers for needles that will work.
If you’re unsure what you need when you first purchase your sewing machine, I recommend purchasing universal needles, sharp needles, ballpoint or stretch needles, and topstitch needles, each in a few different sizes.
If you want to sew leather or have other specific needs such as twin needle stitching, add those specialty needles to your collection as well.
Brands of Sewing Needles
My two go-to brands of needles are Schmetz needles and Organ needles, although there are many different needle manufacturers.
Schmetz needle numbering is simple to follow, and the types are clearly displayed on each needle box, which is why I often prefer them.

Tegs:
Search
Recent Posts
-
Easy Guide: How to Thread a Needle on Your Brother Sewing Machine
Jun 29 2025
-
Owl Sewing Pattern: Bring a Touch of Wisdom and Whimsy to Your Sewing Projects
Apr 14 2025
-
Sewing Machine Needles: Understanding Sizes and Choosing the Right One
Apr 14 2025
-
Sew Leather Like a Pro: The Best Sewing Machines for Leatherwork
Apr 14 2025
Subscribe to Updates
Get the latest posts and fashion insights directly in your inbox.