Quilted Tote Bag Sewing Patterns: Create a Stylish and Durable Bag
Quilted Tote Bag Sewing Patterns: Learn to Sew a Versatile and Beautiful Bag
Quilted Tote Bag Sewing Patterns: Learn to Sew a Versatile and Beautiful Bag
Patchwork Tote Bag Pattern
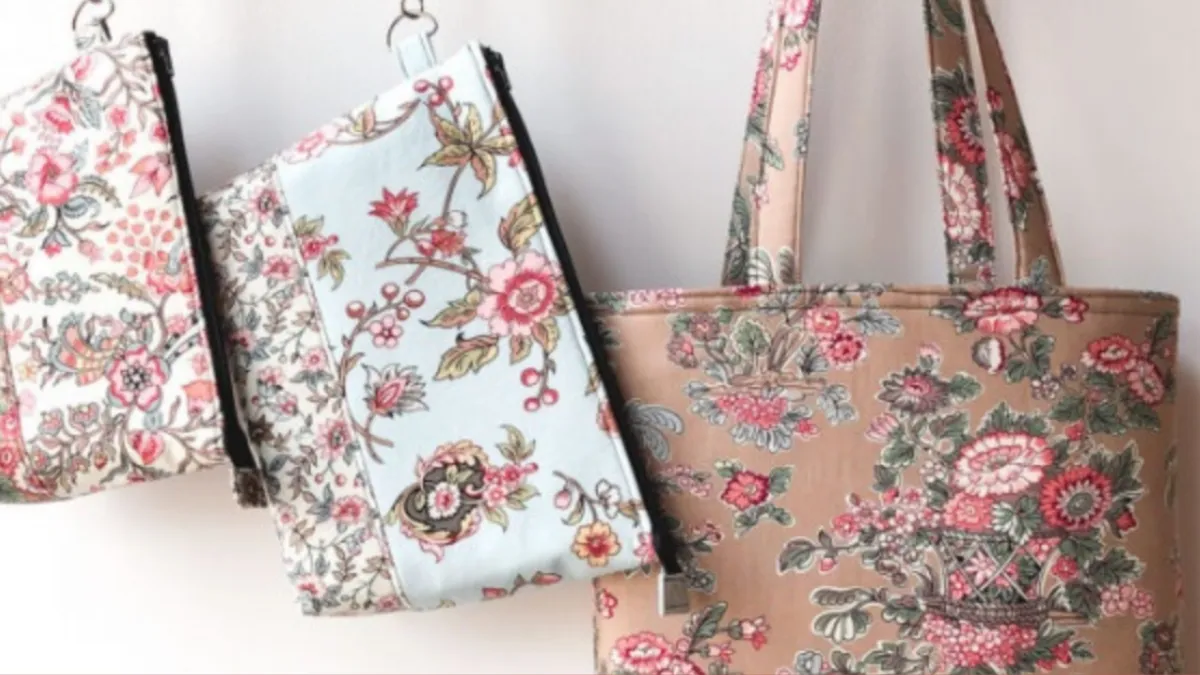
Hey, sewers, if you’re all about spacious carryalls with a touch of patchwork charm, you’re in for a treat with this pattern. Imagine a tote that not only holds a ton of stuff but also showcases panels crafted with the beauty of patchwork.
The beauty of this pattern lies not just in its generosity but also in its adaptability. With instructions for a slip pocket on the lining inside, you have the freedom to customize this simple yet versatile design.
Feel free to add pockets of your choice inside and out, turning this tote into your perfect organizational companion. Crafted from 9 fat quarters, the finished product measures a roomy 15″ x 5″ x 15.
Susan, our trusty reviewer, gave it the stamp of approval, highlighting its versatility as a great tote for everyday use or the ideal travel companion for a weekend trip. The clear instructions and the fat quarter bundle make fabric coordination a breeze.
Grab those fat quarters, follow Susan’s lead, and create a patchwork masterpiece that not only carries your essentials but also adds a touch of handmade charm to your daily adventures!
Topstitching and Optional Quilting
The topstitching on this bag is necessary, but the quilting is optional.
1. Choose one side of the main bag piece to be the exterior. If your fabric is directional, choose the side that has the fabric print right side up.
The other side will be the inside of the tote.
Topstitch along the top (folded) edge of the bag, 1/2’’ away from the fold.
2. If you wish to quilt your bag – now is your chance! Keep all quilting below the topstitching line across the top.
I used the even feed foot (walking foot) along with a guide and sometimes a ruler to sew diagonal lines in two directions.
Note that my diagonal lines never crossed over the topstitching – I always turned and stitched in a different direction (that’s why I needed both my guide and my ruler).
If the raw edges of the fabric become uneven during the quilting, don’t worry – I planned a bit of extra fabric on the sides that you will trim away.
Feel free to sew wavy lines, straight lines in a different direction, or free motion quilt your bag. Or no quilting at all. It’s up to you.
3. We started out with 1” of extra fabric on each side. You only need 1/2” of extra fabric on each side now. So use your ruler to determine where the edge of the foam is and cut off the extra fabric 1/2” past the edge of the foam.
Repeat on the other side.
4. Measure the width of the piece and use a fabric pen to draw a vertical line down the center (on the exterior side of the bag). I like to use a Frixion pen because the ink disappears with the heat from my iron.
Note: my piece shrunk a bit during quilting. It is now only 40’’ wide and the foam on the inside is only 39’’ wide.
Quilting:
1. With the exterior piece attached to fusible fleece or other stabilizer, quilt it in any design you like. On the one above, I marked and quilted lines that were 1 ” apart.
2. After quilting, trim around all the edges of the fabric, including the cut-out rectangles.
Sew all seams with a 3/8” or 1cm seam allowance.
Box the Corners
1. It’s easy to make boxed corners on a finished bag like this. Make sure you are using a heavy duty needle, at least size 14/90.
With the bag still inside out, flatten each corner of the bag by making the bottom seam line up with the side seam (on one side the ‘side seam’ is only topstitching).
2. Use a fabric pen to draw a 4’’ long line across the corner. Pin the corner flat.
3. Sew across the drawn line, backstitching securely.
Tip: I prefer to leave this corner triangle intact inside my bag to give it structure (it helps it stand up). If that bothers you, you can trim away the triangle 1/4” past the stitching. If you do that, finish the seam by serging, zig zagging, or binding the raw edge.
This free bag pattern is on my list of 14+ Tote Bags You Can Sew in an Afternoon. Check it out!
Disclosure: some of my posts contain affiliate links. If you purchase something through one of those links I may receive a small commission, so thank you for supporting SewCanShe when you shop! All of the opinions are my own and I only suggest products that I actually use. 🙂
Caroline Fairbanks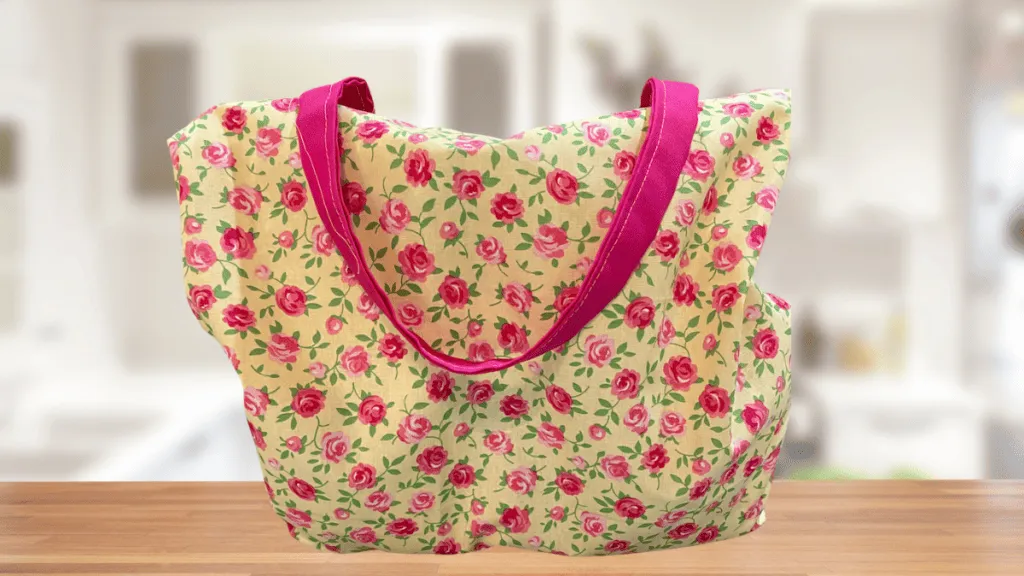

Tegs:
Search
Recent Posts
Subscribe to Updates
Get the latest posts and fashion insights directly in your inbox.