DIY Macrame Wine Holder: Easy Step-by-Step Tutorial
Create a Stunning Macrame Wine Holder: A Beginner-Friendly Guide
Create a Stunning Macrame Wine Holder: A Beginner-Friendly Guide
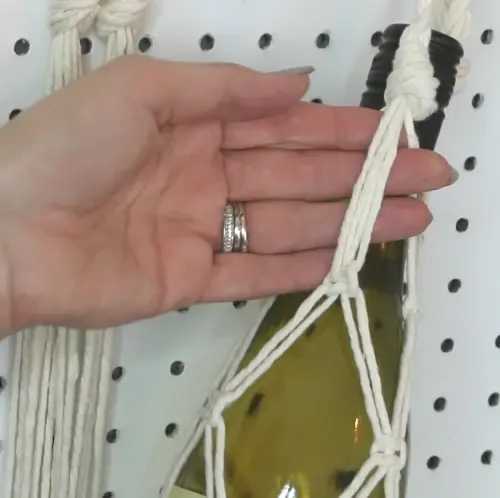
Step 3: tie macrame knots to make the bag
- Separate 4 pieces of rope from the rest.
- Take the end of the left piece and lay it over the middle two, but under the last one
- Take the 4th piece on the far right and lay it over the end of the first piece and take it under the middle two. Then through the loop created by the first piece of rope.
- Pull them tight to create the knot.
- Make one more knot using the same cords.
- Continue this process around the bag until there are 4 knots.
Step 4: create a second layer of knots
Take the 2 closest cords from the 2 closest knots and create two more knots.
Repeat this process the whole way around, and the whole way down until you’re ready to end the bottle carrier.
Create the gathering knot
- Cut another piece of macrame rope.
- Make a long loop that faces downward. Leave a little bit on the rope facing upward like in the middle image. Lay this loop on top of the excess rope from your carrier.
- Take the longer piece of rope of your newly created loop and wrap it around the excess rope of your carrier about 6-7 times.
- Push the end of that rope through the loop and pull the rope at the top to tighten it.
- You can cut the top rope when you’re finished. Glue it if it makes you feel more comfortable.
That’s it! Now you can take your wine bag to visit friends, hang it as a display in your house, or gift it! These make great gifts for wine lovers.
It doesn’t have to be wine either. You can carry beer, whiskey, or other glass bottles too!
I’d love to hear your thoughts. Leave them in the comments below!
Macramé Supplies
I know you’re wondering what sort of rope to use for your macramé projects! I like using the single strand type of rope but the twisted rope look is great too! Amazon has been the best prices I have seen on rope.
Here is a post I created all about different macrame cord and supplies!
That’s all you need! I love that this is so simple, quick and inexpensive.
I really like macramé because it was fairly easy for me to catch onto. If you are a crocheter especially, you are used to tying yarn into knots – I think this will be simple for you to pic it up.
I also love macramé because just like crochet, you need very few materials to get started and create something really cool. I hope you enjoy this project on how to macramé as much as I liked making it for you!


Tegs:
Search
Recent Posts
-
Macrame Wine Bottle Holder Pattern: Make a Beautiful and Unique Piece
Apr 29 2025
-
Macrame Wine Bottle Holder DIY: Add Style and Functionality to Your Home
May 4 2025
-
Add Texture & Charm: Create a Large Round Macrame Wall Hanging
Apr 13 2025
-
Descubre el mundo del macramé con entrepiezas y crea pulseras originales.
Apr 14 2025
Subscribe to Updates
Get the latest posts and fashion insights directly in your inbox.