How to String a Loom for Weaving: A Beginner's Guide
Weaving Mastery: Learn How to String Your Loom Like a Pro
Weaving Mastery: Learn How to String Your Loom Like a Pro
How to Weave on a Cardboard Loom
By jessyratfink CLAMP Podcast Follow
More by the author:About: Hi! I'm a slightly feral mountain hermit that likes to be helpful. I do community management at Instructables & Tinkercad. 🙌 Want to hear me chat about making? Search "CLAMP Podcast" on YouTube. 🤗 More About jessyratfink »
Weaving on a cardboard loom is really fun and super easy to do. I originally did this in school - my mom still has some of the stuff I made. I was the weaving master. :D
In this instructable I'll teach how how to make a cardboard loom and weave on it. It's a great activity for long car rides, waiting at the doctor's office, or classroom arts and crafts. Weaving on a cardboard loom is also great for people of all ages - you can make lots of modifications to make it suitable for folks of all skill levels. You can do quite a bit with a simple cardboard loom.
So come on, let's learn how to weave on a cardboard loom and be the envy of elementary school children everywhere! :D
Step 4: Weaving!
Now for the fun part!
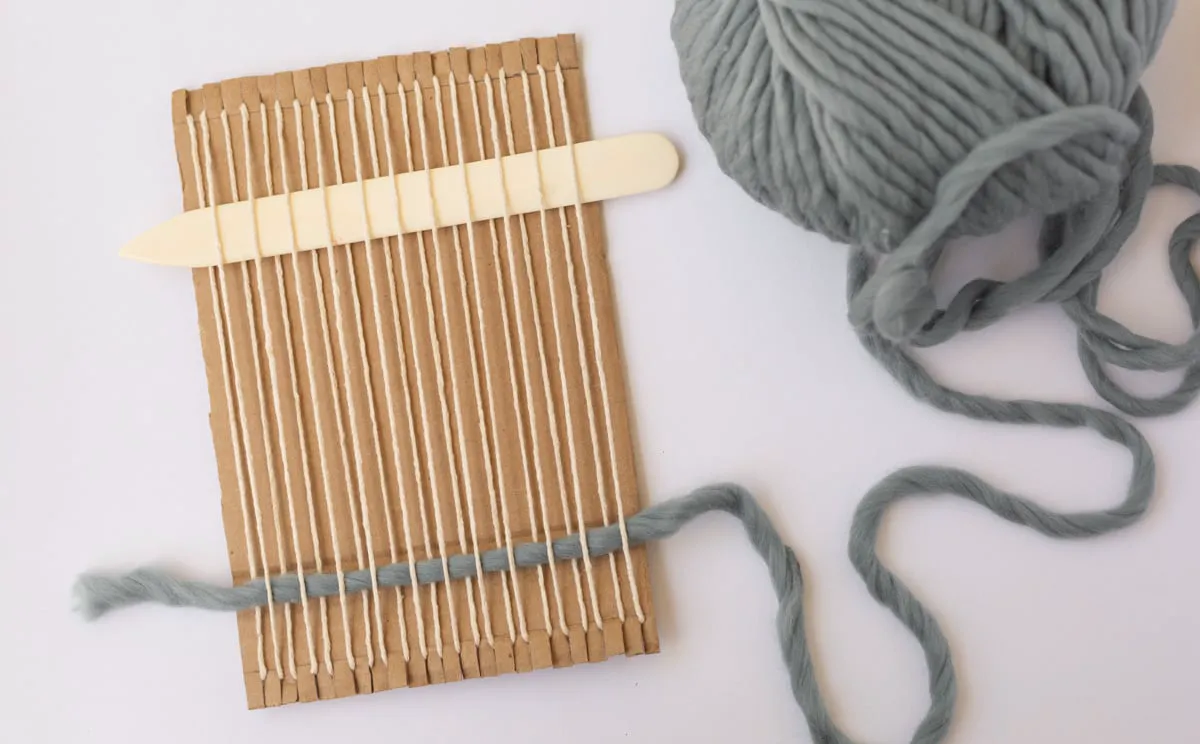
Cut a length of yarn (shorter is easier to work with at first - no more than 2 feet) and thread the yarn through the needle. I like to make a knot so that it stays in the needle - it has a tendency to fall out if you don't.
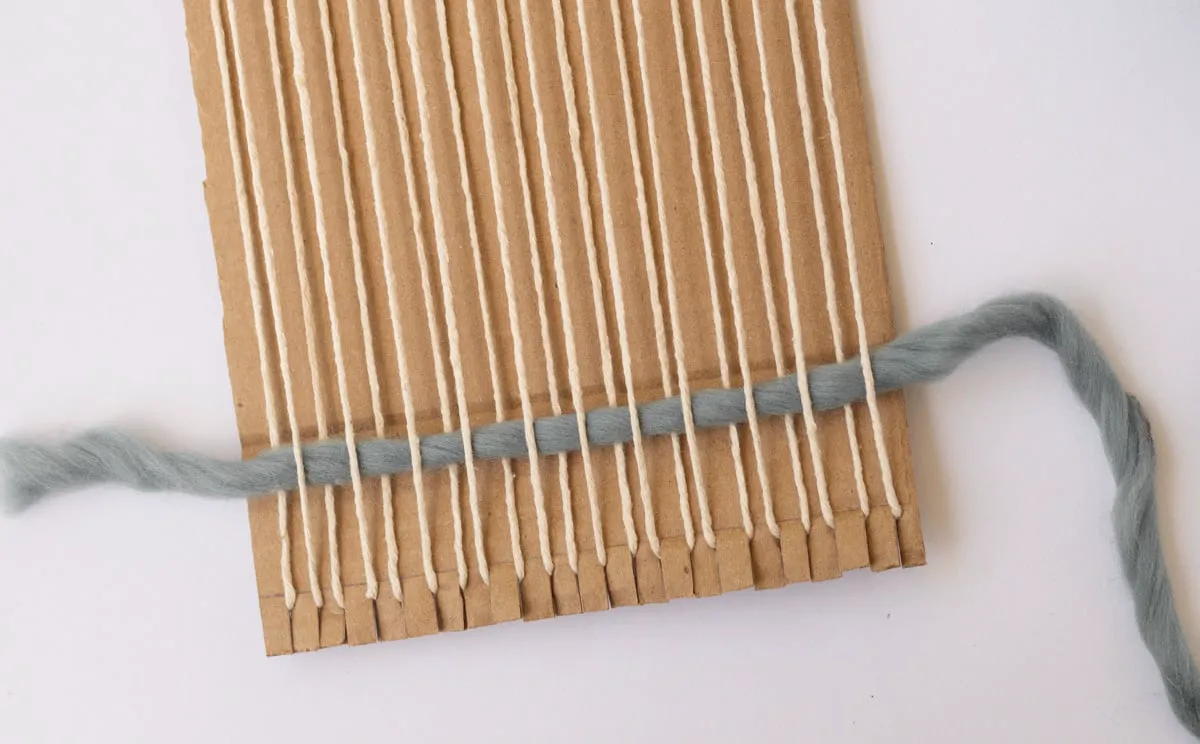
You'll be using the needle to guide the yarn through the loom in an under-over pattern. (Under the first string, over the second, under the next, etc.) Once the needle has passed through all of the strings, pull the yarn through and leave a tail of a few inches at the end. Push the yarn up on the loom so that it's about 1/4 inch away from the notches.
Bring the needle and yarn back through the loom from the side you just exited using an over-under pattern that's the opposite of your first line and pull the yarn through. (If your first line of yarn goes under the last string to the right, it needs to go over the last string to begin the second row.) Just don't pull too hard on the yarn - you don't want to warp the strings on the loom!
Push the second line of yarn up to meet the first.
Step 3:
Bring your yarn counter-clockwise around the corner nail. Follow your yarn down and go clockwise around the nail to the right of your first strand. Take your yarn up to go counter-clockwise around the nail to the right of your first strand. Continue this pattern to your slipknot.
How to Make a Cardboard Loom
1. Cut cardboard
Cut a piece of cardboard larger than the size of weaving you want to create.
2. Create a line at top and bottom
Using a ruler, measure 1/2 inch up from the bottom of the cardboard and draw a line all the way across. Do the same on the top.
These lines are a guide where you will cut the notches too.
3. Measure and mark for notches
Next, measure 1/4 inch increments all the way across the bottom of your cardboard.
And then do the same on the top – making sure to use the ruler in the same orientation to ensure the lines match up on top and bottom.
4. Cut notches.
Cut the notches on both ends, stopping the cut at the horizontal line on each side.
5. Add cardboard strips.
(optional) Once the notches are cut on both ends, you can add cardboard strips (or popsicle sticks) right after the horizontal lines your drew (in step 2) to lift the strings off the cardboard base when weaving, if desired.
You can use glue or tape to attach one piece to each end.
Honestly, I usually don’t do this because it’s an extra step that doesn’t feel entirely necessary. But if its more comfy for your to weave with that extra lift, this is a great / easy way to do it.

Tegs:
Search
Recent Posts
-
How to String a Singer Sewing Machine: A Simple Guide for Beginners
Apr 17 2025
-
Learn How to Create Beautiful Woven Designs with This Simple 4-String Weave
Apr 23 2025
-
Macrame Plant Hanger String: How Much Do You Need?
May 28 2025
-
Crochet String of Pearls: A Classic and Elegant Stitch Pattern
May 29 2025
Subscribe to Updates
Get the latest posts and fashion insights directly in your inbox.