Sew Cording into a Pillow: A Step-by-Step Guide
How to Sew Cording into a Pillow for a Professional Finish
How to Sew Cording into a Pillow for a Professional Finish
Make the DIY Piping
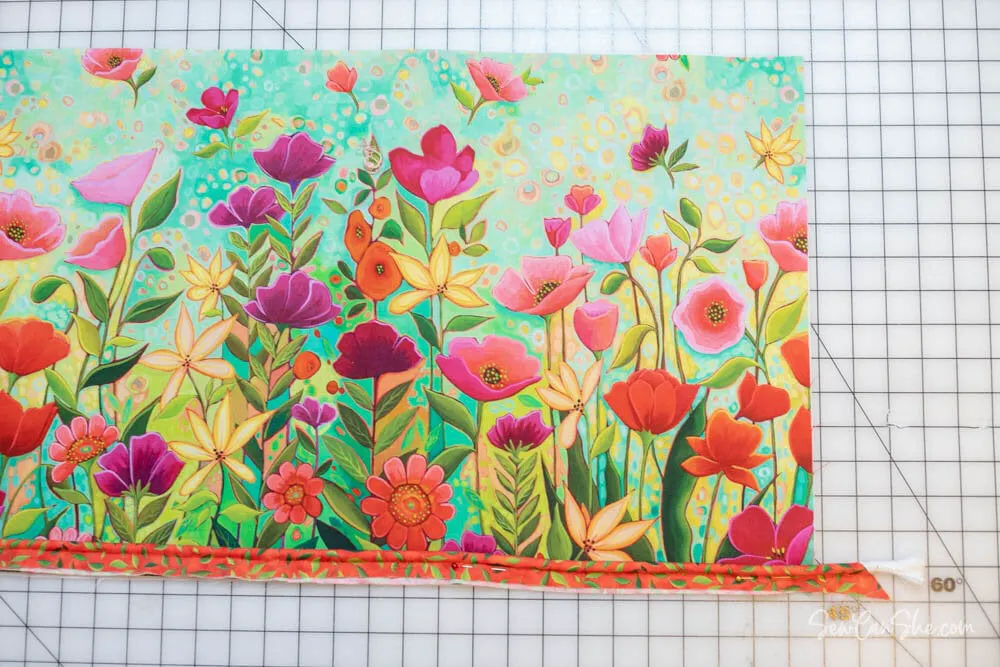
1. Sew the bias cut strips together at an angle to make at least 115’’ of bias trim.
Press the seams open.
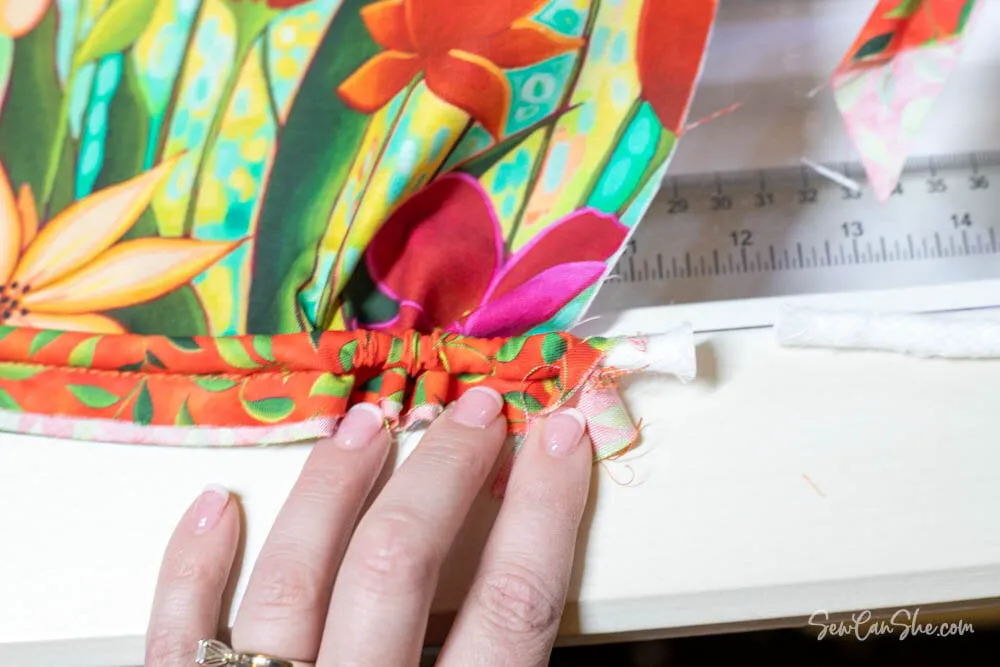
2. Wrap the bias trim around the 1/4’’ piping cord at one end. You may use clips to hold the piping in place as you start sewing, but you don’t need to secure the entire length before getting started sewing.
3. Attach the zipper foot (or a piping foot) to your sewing machine. This will help you sew as close to the cord inside the piping as possible.
Using a long basting stitch, sew the piping cord inside the binding strip, sewing as close to the piping cord as you can.
Work slowly and try not to stretch the fabric.
Making Your Own Cording
Making your own cording gives you control over the fabric, size, and style. You’ll need bias-cut fabric and a cord to get started.
Choosing Fabric for Bias Binding
Choosing the right fabric for bias binding guarantees smooth sewing and lasting results.
Lightweight cotton is a popular fabric choice due to its easy folding and pressing.
Silk also works well for its subtle stretch, perfect for curves.
Always preshrink your fabric and piping cord together to avoid mismatched sizes later.
Steam pressing bias tape before sewing techniques like stitching helps create clean edges.
For professional results, understanding cording foot types is essential for selecting the right tools.
Here’s a quick guide:
| Factor | Best Option | Reason |
|---|---|---|
| Fabric Selection | Lightweight cotton/silk | Easy to handle and durable |
| Bias Cuts | True bias | Stretches around curves well |
| Texture Options | Smooth fabrics | Prevents bulk |
| Thread Colors | Match or contrast | Adds style or blends neatly |
Inserting Cording in Bias Binding
Now that you’ve chosen your fabric, it’s time to encase the cord with precision.
Follow these steps for smooth results:
- Cut bias tape wider than your cord plus seam allowance. This guarantees enough fabric to wrap snugly.
- Thread the cord into the bias tape using a bodkin, needle, or safety pin, keeping it even.
- Wrap and press the fabric tightly around the cord, smoothing edges as you go.
- Sew tightly using a cording foot or zipper foot. Sew close to the cord for a secure, gap-free finish.
These binding methods create polished results. Understanding bias binding techniques is essential for achieving professional-looking finishes with cording.
Joining Cording Ends
Joining cording ends provides a clean, seamless finish. Here’s how to do it:
- Unstitch 1–2 inches of the bias tape around the cording. Trim the cording so it stops just short of the unstitched section.
- Fold the raw edge of the bias tape inward and press it flat to prevent fraying.
- Tuck the trimmed cording into the folded section, aligning ends neatly. Pin in place.
- Using a cording foot, re-stitch the bias tape snugly, trimming excess for a polished finish.
Sewing Cording in Seams
Sewing cording into seams gives your projects a clean, polished look. You’ll align the cording, baste it in place, and stitch securely for a neat finish.
Basting Cording
Before sewing cording, baste it along the seam allowance with raw edges aligned. Use loose, long stitches for easy adjustments.
This guarantees precise edge alignment and prevents shifting. Check your tension management to avoid puckering, and keep stitch control steady.
Proper cord preparation and basting tips will help you insert cording seamlessly, setting the stage for polished results.
Utilizing the right sewing cording tools is essential for achieving professional-looking seams.
Stitching Over Cording
After basting, it’s time to sew the cording securely. Keep your stitching straight and centered for a polished look. A cording foot makes this easier, especially for precise sewing piping. Using the right cording foot tools can greatly improve results.
- Adjust Stitch Length: Use a slightly longer stitch length to prevent puckering.
- Control Cord Tension: Keep fabric and cording relaxed—don’t stretch them.
- Align Seam Allowance: Clip seam allowances on curves, check alignment often, and guide the fabric carefully.
Choose a thread color that matches your fabric choice for a seamless finish.
Pressing Seams With Cording
Pressing seams with cording is key for a polished finish. Proper tools and techniques guarantee your project looks professional.
Focus on seam pressing without damaging the fabric or shifting the cord. Utilizing a seam press tool can help achieve crisp folds and prevent distortion.
Use these tips for success:
- Let seams cool under a tailor’s clapper for lasting results.
- Place a press cloth between the iron and fabric to avoid shine or distortion.
- Adjust iron settings to match your fabric type.
- Avoid pressing directly on the cord; focus on edges instead.
- Check alignment often to keep the cord in place.

Tegs:
Search
Recent Posts
-
Sewing Cording onto a Pillow: A Beginner's Guide
Apr 14 2025
-
Find out if you can bring a wood carving into Canada. We cover the customs regulations and what you need to know before you travel.
Apr 25 2025
-
Sew a Skirt into a Dress: Simple and Stylish DIY Project
May 19 2025
-
Sewer Backup in Your Tub: What to Do and How to Prevent It
May 20 2025
Subscribe to Updates
Get the latest posts and fashion insights directly in your inbox.