How to Sew a Tea Cosy: Step-by-Step Guide for Beginners
Sew a Cozy Tea Cosy: Patterns, Techniques, and Tips
Sew a Cozy Tea Cosy: Patterns, Techniques, and Tips
Making a 'Tea Cosy'
By praise_song Follow
About: I am a mom, a wife, a singer and Christian recording artist, as well as speaker for women's ministry events. I cook . a lot! . and love to try new recipes. I'm not a gourmet, but I do like to try fancy thi… More About praise_song »
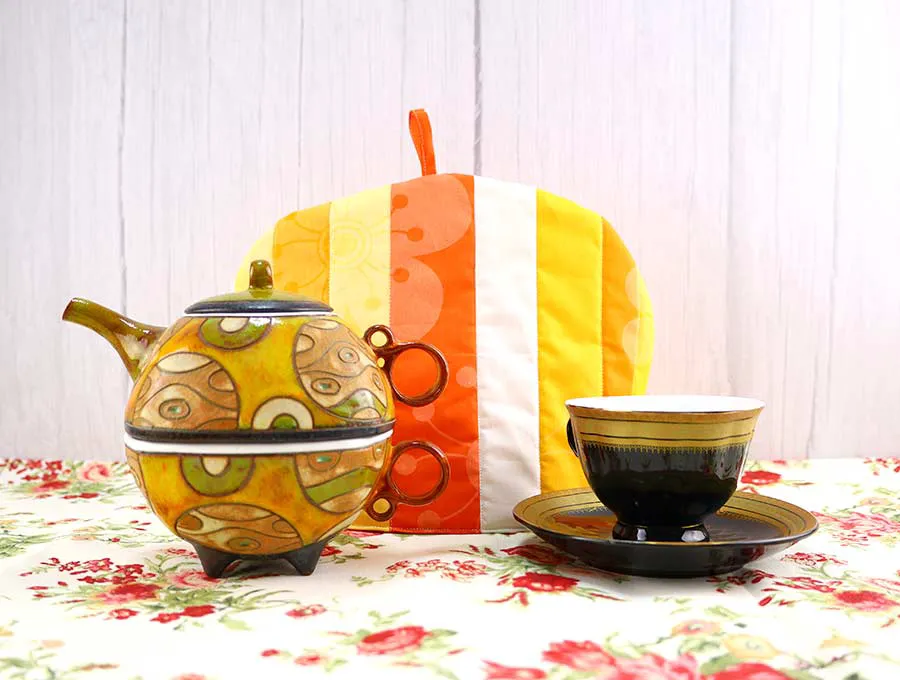
I love hot tea, and love to use my tea pots. Keeping it warm enough to enjoy an entire potful before it gets cold can be a challenge. So, I designed a "tea cosy". Found them to be way overpriced and not very imaginative or pretty on the 'net, so I made my own design!
Step 4: Quilt the Tea Cozy
Keep in mind, the appliqué designs will create enough quilting for the front of the Tea Cozy. If you choose not to add an appliqué design, then you will want to add more quilting to the front.
Note: This tutorial has minimal quilting which doesn’t alter the shape of the Tea Cozy. If you plan to do a denser quilting design, I recommend you fuse the Exterior Fabric to the foam interfacing, then quilt before cutting out the Exterior Front and Back pieces.
Here’s another quilted example. I used a walking foot and quilted a little over 1″ apart.
Step 8: Step 8: Elastic
Run your 12" piece of elastic through the bottom hem casing. [Photo A].
Secure the ends of elastic with your sewing machine. [Photo B].
Sew the hem opening closed, that you previously left open to run the elastic through.
You will have a gathered, elastic casing at the bottom of your cylinder [Photo C]. (I'm holding the cosy upside down in this photo, for ease of picture taking).
Your tea cosy is finished! Now comes the fun part . putting it ON your tea pot!
Step 3: Step 3: Making Opening for Tea Pot's Spout
Fold your fabric in half, right sides together, to make a rectangle that is 9½ [tall] x 11¼" [wide]. This is to establish your center front fold line.
Along the fold line [and this will be on the side of the fabric that will eventually be the INSIDE of the cosy], starting roughly 2¼" from the bottom raw edge*, using a seamstress chalk, or a contrasting pen that you will be able to see. draw a 4" line along the fold line, towards the top edge. [See Photo A, the faint red line from the 0" to the 4" line on the measuring tape.]
Using a buttonholer attachment [see Photo B] on your sewing machine, make a buttonhole along this line. Slit the 4" buttonhole open. This will be the opening for the tea pot's spout.
[See Photo C - this is the RIGHT side, or the OUTSIDE of the cosy fabric, the side you will see!]
*NOTE: If you use a fabric that needs to be oriented "right-side-up", like mine in these photos, make sure you are starting from the correct edge. For instance, I don't want my chickens in this fabric to end up standing upside-down on their heads, after my project is finished! See photo in step 10.


Tegs: