Knit Your Own Bookmark: A Simple and Charming DIY Project
Learn How to Knit a Bookmark: An Easy and Personalized Gift Idea
Learn How to Knit a Bookmark: An Easy and Personalized Gift Idea
Cut your yarn, leaving a tail for weaving in. You can just pull the loose end to secure the last stitch and that’s neater than knotting it through.
Take a blunt tapestry needle and weave in the cast on and cast off ends into your knitted bookmark piece to secure and hide them. Congratulations: you have just hand knit a bookmark! If you want to take it to the next level, complete the finishing touches steps below.
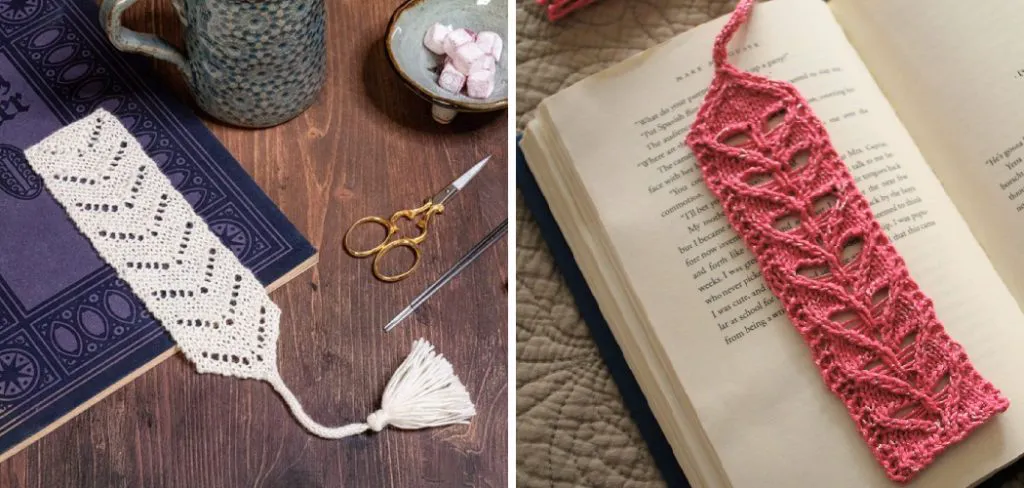
You can bling up your basic knitted bookmark by adding a tassel. This looks fancy but is very easy to do and only takes about 5 minutes.
Once you’ve made your tassel, take the 2 loose ends from the knot on the top and attach them to the top left corner of your bookmark. Thread each end with your needle, and weaving them in and out a bit to secure them. I left around a 2 inch length between the top of the bookmark and the top of the tassel, but you can have any tassel cord length you like.
Cast on 8-10 stitches
Any cast on method will work here.
Cast on 8 stitches with 5mm needles (size 8 US) if using worsted weight or aran yarn.
Cast on 10 stitches with 4mm needles (size 6 US) if using DK yarn, which is a bit finer.
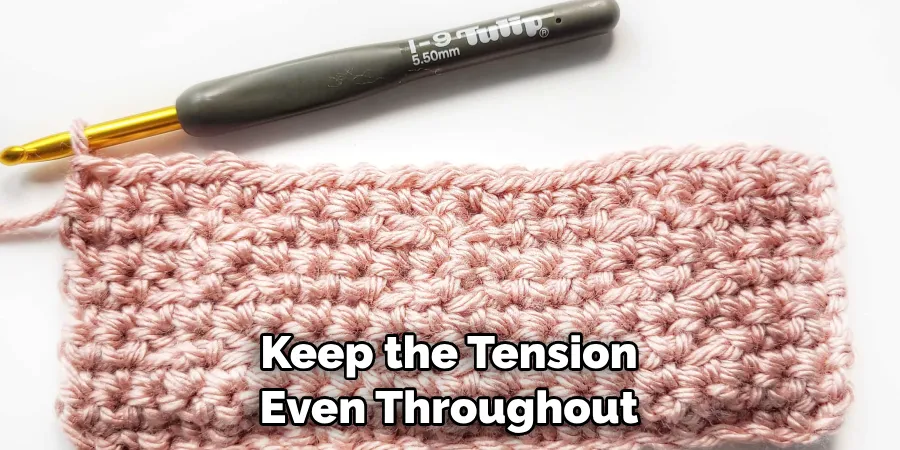
Use the recommended needle size on your yarn ball. The above is just a general guide. If you have slightly different size needles, that’s fine too. It won’t really matter for this project.
Resources and tutorials you may find helpful in following this pattern:
- You should be comfortable casting on (how to cast on knitting) and casting off (how to cast off knitting for total beginners (step by step)) , as well as knitting in garter stitch (how to knit garter stitch) .
- You should be comfortable working the purl stitch (How to knit the purl stitch (for beginners + a video tutorial)).
- You should also be comfortable reading knitting patterns (how to read knitting patterns for beginners).
- And understanding knitting abbreviations and terms (US and UK).
Wash & dry your bookmark (optional)
You can use your bookmark as is, but you can neaten it up by washing and drying it first. This is known as blocking and it gives your projects a professional finish.
Leave your bookmark to soak in a small bowl of water for a while (at least 20 minutes). Then take it out and carefully squeeze out the excess water. Don’t wring it, just press it in your hands or a towel.
Then lay your bookmark to dry on a towel, or a piece of foam etc. Anything you can leave something damp on will do. Take a couple of minutes to shape the bookmark and tassel as you want it. Focus on straightening the edges and evening out the stitches. If it isn’t staying put, you can put pins at the corners or any troublesome spots. This is good practice for blocking more complex and larger projects in the future.
Leave your bookmark until it is fully dry. This could take 24 hours or even longer. But you will be amazed at how big a difference blocking makes, even to a simple beginner bookmark.
Once you know how to cast on, do the knit stitch and cast off, you can knit this easy bookmark. It won’t take long and I hope you enjoy making it.

Tegs:
Search
Recent Posts
-
Chunky Knit Blankets: The Ultimate Guide to Cozy Comfort
Apr 13 2025
-
Learn to Knit a Thumb on a Mitten: A Simple and Effective Tutorial
Apr 14 2025
-
Hand-Knitted Bliss: Weighted Blanket Chunky Knit for Ultimate Relaxation
Apr 14 2025
-
Master the SSK: A Comprehensive Guide to Knitting the Slip-Slip-Knit Stitch
Apr 14 2025
Subscribe to Updates
Get the latest posts and fashion insights directly in your inbox.