How to Flat Iron Weave for Bone Straight Hair: A Guide for Beginners
Achieving Bone Straight Weave with a Flat Iron: A Step-by-Step Tutorial
Achieving Bone Straight Weave with a Flat Iron: A Step-by-Step Tutorial
Is Heat Good for Your Hair?
The benefits of heat on your hair depend on how you use it. For example, using a hair dryer (or blow dryer) on the lowest heat settings for about 5 minutes can help coconut oil seep into the hair strands.
Conversely, excessive heat can cause significant damage. Remember that hair has a heat tolerance similar to wool, and both are made up primarily of keratin.
If we assume that the hair is similar to wool, here are some basic temperature guidelines:
The optimal temperature for flat ironing your natural hair is the range up to 150°C (302°F). The fact is that you'll need to sacrifice your hair's moisture to make it straight.
If your hair doesn't go straight after a while, please don't continue to turn up the heat. This could lead to significant heat damage.
While learning how to flat iron natural hair is a desire of many naturals, moderation is the key to making sure your hair comes out unscathed.
One good pass of a flat iron in a moderate heat setting should be fine, but do you really have to make 20 passes at high heat settings?
However, heating the hair on a daily basis isn't recommended. When you use it occasionally and responsibly, it becomes a nice hairstyling option.
Related Articles
Benefits of Bone Straight Hair
- Tangle-Free and Easy to Maintain: Bone straight hair is inherently smooth and sleek, reducing the likelihood of tangles and making it easy to maintain.
- Super Soft, Silk, and Smooth Texture: With its ultra-straight strands, bone straight hair feels luxuriously soft to the touch, resembling the smoothness of silk.
- Time-Saving in Daily Styling: Due to its naturally straight texture, bone straight hair requires minimal styling effort, saving you time in your daily hair routine.
- Versatile for All Occasions and Outfits: Whether you're dressing up for a formal event or keeping it casual for everyday wear, bone straight hair complements all occasions and outfits with its elegant and polished appearance.
Styling Ideas For Bone Straight Hair
- Sleek Ponytail: To create a sleek ponytail with bone straight hair, start by brushing your hair and then gather your hair into a high or low ponytail, depending on your preference. Finally, secure it with a hair tie. Since the bone straight hair is ultra-skeek and with no flyaways, you don't need to use hair gel or other products to smooth it down.
- Middle Part: Achieving a Kardashian-inspired look, sleek middle part, with bone straight hair is simple. Use a rat-tail comb to create a straight part down the center of your head. Use the comb to ensure the part is neat and straight. You can also add extensions for extra length and volume.
- Half-Up, Half-Down: Styling bone straight hair in a half-up, half-down look is effortless and chic. Start by taking a section of hair from each side of your head, near your temples, and bring them together at the back of your head. Secure the sections together with a hair tie or clip. You can leave the rest of your hair down or add curls or waves for added texture and dimension.
Maintenance Tips For Bone Straight Hair
- Washing and Conditioning: To keep your bone straight hair looking its best, it's important to wash and condition it regularly. Aim to wash your hair every 7-10 days, or as needed based on your scalp's oiliness. Use a sulfate-free shampoo and a moisturizing conditioner to keep your hair hydrated and shine.
- Avoid Heat Styling: Unlike some other hair textures, bone straight hair will not hold curls or waves created with heat styling tools. Therefore, it's best to avoid using heat tools like flat irons and curling wands to prevent damage to your hair.
- Storage: Proper storage is key to maintaining the quality of your bone straight hair extensions and wigs. When not in use, store them in a cool, dry place away from direct sunlight to prevent them from becoming tangled or damaged. Consider using a wig stand or mannequin head to help maintain their shape and style.
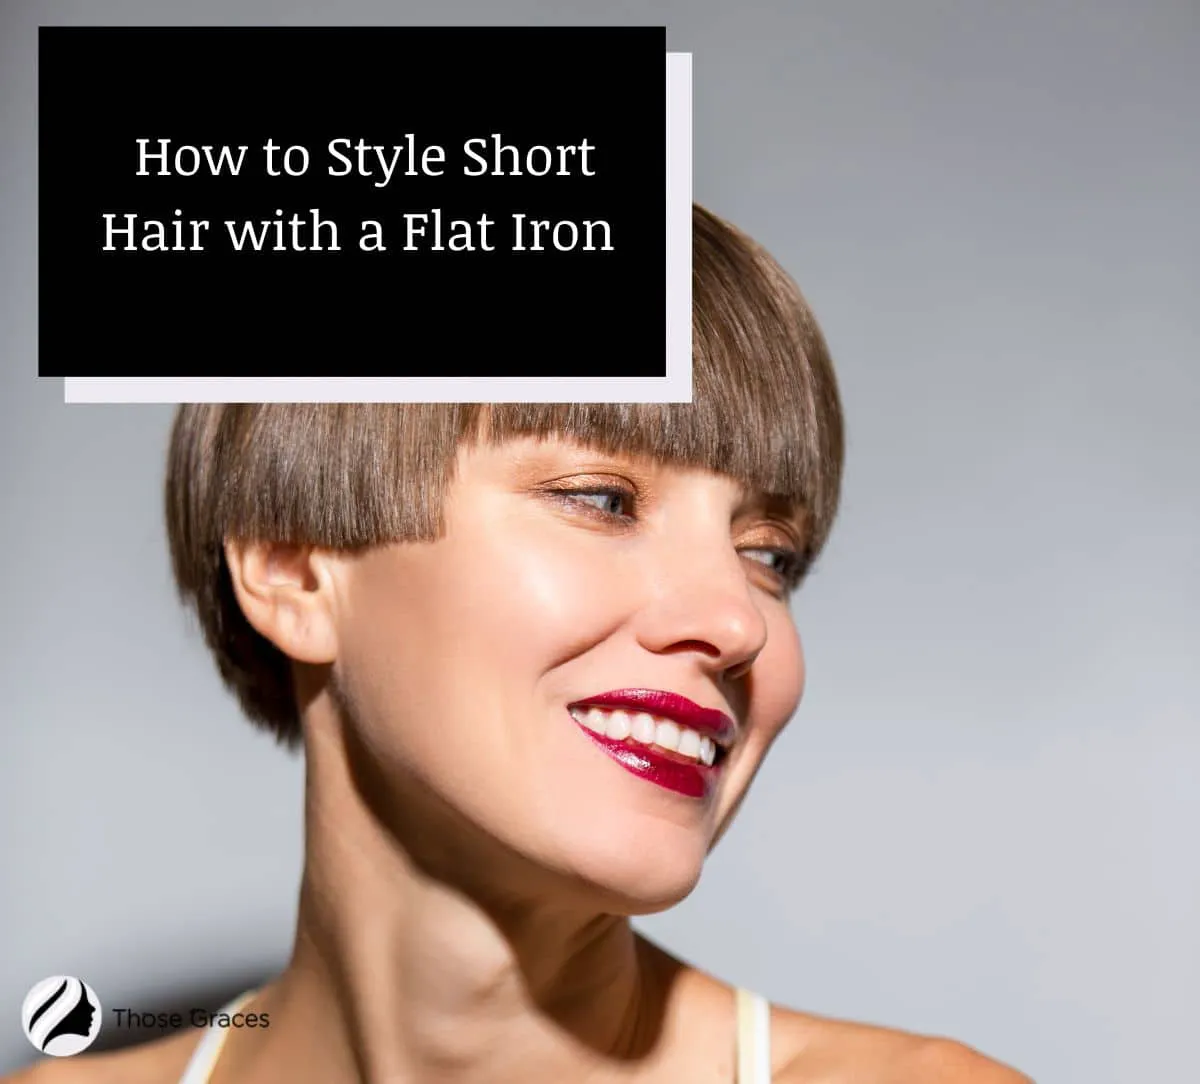
How to Style Short Hair with a Flat Iron | 8 Quick Tips
Curious to know how to style short hair with a flat iron? Your search is over!
As a beauty expert, I’ve wondered about all those “perfect hair” DIY celebrity tricks and finally found the 8 amazing tricks that work with a flat iron and a bit of imagination! (SPOILER: My clients can’t get enough!)
In this post, I’ll hold no stone unturned: you’ll learn the 8 DIY style tips (from tweaking the heat to must-have tips) you can do with a flat iron, some power, and a couple of minutes AT MOST.
Skip ahead and find out all you need to know about styling your short hair with a flat iron ASAP!
Table of Contents
Use a flat iron to straighten hair
Using a flat iron to straighten hair is a delicate process that requires careful preparation to avoid damaging your hair. Here is a detailed guide on how to use a flat iron to achieve bone straight hair:
Prepare Your Hair
First, you need to prepare your hair before using a flat iron. Start by using smoothing or moisturising shampoos and conditioners. These products are designed to create straight or sleek hair and will help prepare your strands for the straightening process. After showering, gently pat your hair dry with a towel. Avoid vigorously rubbing or ruffling your hair, as this can cause frizz. Instead, gently squeeze your hair in sections to remove the water. You can also use a super-soft microfiber towel, like the DevaTowel, to reduce frizz. Once your hair is towel-dried, apply a thermal protection serum or heat treatment while your hair is still damp. Comb your hair with a wide-toothed comb after applying the product. Look for products containing Obliphica Berry, argan nut oil, Moroccan oil, or coconut oil, as these ingredients help keep hair straight throughout the day.
Blow-Dry Your Hair
Before using a flat iron, you want your hair to be as dry as possible. Blow-dry your hair, ensuring that the airflow is directed downward, following the flow of your hair. This downward motion encourages your hair to dry straight and reduces the risk of frizz. If you have frizzy hair, set your hairdryer to a lower heat setting and dry your hair for a longer period to prevent it from puffing up.
Section Your Hair
Divide your hair into several sections, depending on its thickness. Aim for sections that are one to two inches thick, which will make it easier for the flat iron to glide through. Use clips or pins to secure the sections you're not working on, either on top of your head or behind your shoulders.
Use the Flat Iron
Now it's time to plug in your flat iron and turn it on. Adjust the heat setting according to your hair type. If you have thick and frizzy hair, use a higher temperature. For thin and brittle hair, set the straightener to the lowest temperature to avoid damage. Place the flat iron as close to your roots as possible without burning yourself. Clamp the iron down so that the heated sides touch, with your hair in between. Slowly and steadily sweep the flat iron from the roots to the ends of your hair. Don't hold the iron in one place for too long, as this can damage your hair and create ridges. You may need to run the flat iron over each section a few times, depending on your hair's thickness. Stop once your hair is straight, and don't exceed three passes.


Tegs:
Search
Recent Posts
-
Create a Stylish and Functional Bag: Sewing a Flat Bottom
Apr 21 2025
-
Flat Weave or Low Pile Rugs: Discover the Perfect Choice for Your Home
Apr 25 2025
-
Flat Weave vs. Hand Knotted Rugs: A Comparison of Weaving Techniques
Apr 25 2025
-
Understanding Flat Weave Microfiber Cloth: A Comprehensive Guide
May 6 2025
Subscribe to Updates
Get the latest posts and fashion insights directly in your inbox.