How to Do Piping Sewing: A Step-by-Step Guide for Beginners
How to Do Piping Sewing: Learn to Sew Professional-Looking Piping
How to Do Piping Sewing: Learn to Sew Professional-Looking Piping
How To Sew Piping On A Pillow (Step By Step Tutorial)
This post may contain affiliate links. If you make a purchase through links on our site, we may earn a commission at no additional cost to you. See our disclosure policy for more info.
- The fabric for your cushion. If you're not sure how to cut out your cushion fabric, you can find our tutorial on sewing envelope cushions HERE and our step by step instructions for making box cushions HERE.
- Sewing machine
- Piping foot* or zipper foot*
- Piping
Make piping cord
If you would rather watch the video on making piping, here it is
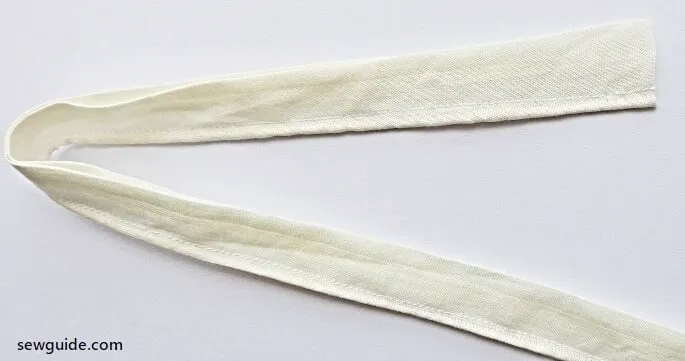
You just need a fabric strip and some cord to make this decoration. A zipper foot attachment on your sewing machine is another requirement.
If you are professional sewist, you will know the importance of pre-washing. Prewashing applies to the cord to be inserted inside your piping too.
The fabric strip for making the piping can be cut diagonally ( bias tape) or on the straight grain ( parallel to the selvedge). You can use any size cording – just make sure that the surface is somewhat smooth. Usually cotton cable cord is used. If it is very twisted the piping will not look finished.
If you cut bias tape (fabric strips cut at a diagonal angle), it will be flexible and stretchy enough for sewing around corners and adjusting to stretchy seams. Checkout the post for double and single folded bias tape for more details – there are many easy ways to cut a bias strip. If you have a big project you will need long lengths of continous bias tape and all the tips to easily cut them will be welcome.
For attaching to straight edges you can use fabric strips which are cut anyway- lengthwise, crosswise or by the bias.
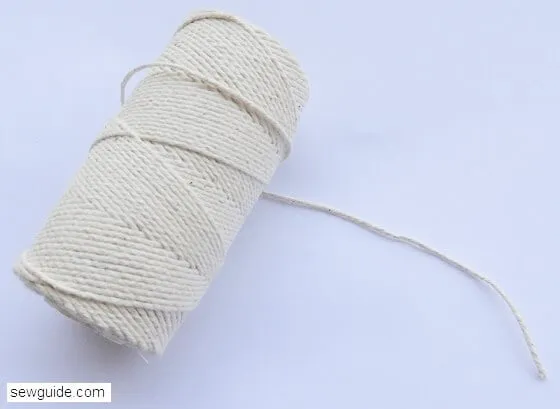
Piping filler cord
You can use cotton yarn cord (cotton cable cord) available in white color as the filler cord for your piping. Polyester cord is also used. For upholstery piping with thick fabrics you can use a thicker cotton cable cord. You can also use thicker paracord for a thicker filling. Many use soft and thin rayon cord. Another variety is waxed cord – this is best if you want stiff piping
A Couple Of Tips
Tip #1: If you have a piping foot for your sewing machine, you will want to put that on now as it makes sewing piping much easier. If not, the zipper foot will also work.
Tip #2: You will need enough piping to go all the way around the outside of your cushion…so for an 18″ square pillow that would be 18″ x 4 sides plus a few extra inches for joining…or about 78″.
Step-by-Step Guide to Sewing Piping
Once you’re equipped with the essential foot and supplies, take a step-by-step approach to sewing piping for amazing results!
Start by basting the piping in place. Align raw edges and use your zipper foot to stitch on top of the existing stitching.
To ensure continuous edges, cross over them so they’ll taper off at each end before clipping around curves without cutting across any stitches or creasing fabric layers when turning out seams along an edge – this will help create perfect finishes that won’t fray easily!
When it’s time to sew onto another piece of fabric, remember: pin right side down and go as close as possible to where cord is placed.
Don’t forget pressing either; after a seam has been turned outwards press it flat so everything looks neat once finished!
Finally, clip corners if needed prior completing all steps above – no matter how intricate shapes may be this technique can make any project look professional with ease thanks its flexibility while allowing creativity through different colors & thicknesses available too!

Tegs:
Search
Recent Posts
-
Sewing Piping on a Cushion: A Complete Guide
Jun 8 2025
-
Owl Sewing Pattern: Bring a Touch of Wisdom and Whimsy to Your Sewing Projects
Apr 14 2025
-
Sewing Machine Needles: Understanding Sizes and Choosing the Right One
Apr 14 2025
-
Sew Leather Like a Pro: The Best Sewing Machines for Leatherwork
Apr 14 2025
Subscribe to Updates
Get the latest posts and fashion insights directly in your inbox.