Hair Weave Closure Techniques: A Beginner's Guide to Perfecting Your Style
Master Hair Weave Closure Techniques: Step-by-Step Tutorial
Master Hair Weave Closure Techniques: Step-by-Step Tutorial
Key Takeaways
- Choose extensions that match your natural hair texture and color for the most seamless blend.
- Prepare your natural hair properly before installation by using moisturizing shampoo, conditioner, and detangling.
- Maintain your weave’s longevity by washing it regularly with sulfate-free products and avoiding heat styling damage.
- Watch for signs like excessive shedding and matting to know when it’s time for removal. Get professional assistance for safe removal when needed.
Hey girl, let’s dive right into prepping for that fresh new sew-in! Before we start braiding and weaving, we’ve got to choose extensions that match your texture, wash and condition those natural curls, and trim off any split ends.
Once your hair is clean, detangled, and trimmed, you’ll be ready for me to weave my magic.
Choosing the Right Hair
After properly prepping your natural hair, choose bundles that closely match your texture to blend seamlessly with the leave-out.
- Examine the curl pattern and thickness of your natural hair. Select extensions with a similar texture for the most natural look.
- Choose human hair over synthetic for the ability to wash, style, and blend with your own hair.
- Opt for virgin human hair in the same color as your own for the best match. Highlights can add dimension.
By selecting extensions that mirror your natural hair, you’ll achieve a flawless blend that looks and feels totally organic.
Washing and Conditioning Your Natural Hair
Before installing your sew-in weave, hit refresh on your natural tresses by lathering up with a moisturizing shampoo. It’ll envelop each strand in a soothing coat of hydration. Prepping your locks with some TLC lays a healthy foundation for weave blending and longevity.
Nourish your scalp and strands with a sulfate-free cleanser to remove buildup without drying. Massage in an ultra-hydrating mask, and gently detangle those curls for seamless sewing and leave-out. When maintaining your install, continue caring for your hair beneath by regularly washing and conditioning to promote scalp health and reduce matting.
Trimming Your Natural Hair
With focused care, trim your natural hair to remove split ends and prep for a seamless sew-in weave. Arm yourself with quality shears before gently snipping away damaged ends. Be disciplined, taking off the minimum for optimal growth.
Conclusion
As a hairstylist, you know sew-in weaves offer amazing versatility for stylin’ your clients’ hair. Studies show over 65% of women with natural hair have tried sew-ins for protective styling. With proper prep and care, sew-ins let you rock endless looks from straight locks to big curls.
Follow our guide for installin’ flawless sew-ins on your clients. Learn techniques to blend extensions and style for a natural look they’ll love.
With the right maintenance routine, sew-ins can last 6-8 weeks. So go ahead, get creative and give your clients fresh sew-in hairstyles that’ll make ’em feel beautiful!
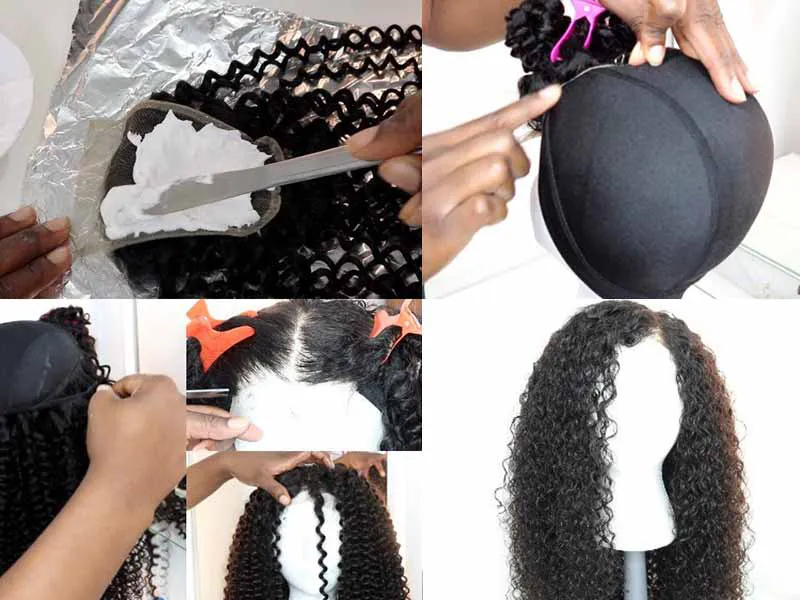
Some may think that quick weave is harmful to natural hair due to the application of glue. Some may also think that quick weave is prone to slip-off and cannot be wet. So what is the truth? Keep scrolling. We are here to share with you all the basics about quick weave in this post, including its pros and cons, installation, maintenance, and removal.
A quick weave is a popular weaving method to glue down hair weaves to a protective wig cap on one's head. It's a quick and easy way that allows you to rock at home. To create a fuller and longer hair look. Different from other extension methods, it's available for short hair.
Achieving a Natural Look With a Sew-in Weave
A key element in achieving a natural look with a sew-in weave is properly blending the extensions with your natural hair. This involves getting the right haircut and style to complement the weave. Tapering and layering your natural hair will help it blend seamlessly with the wefted hair.
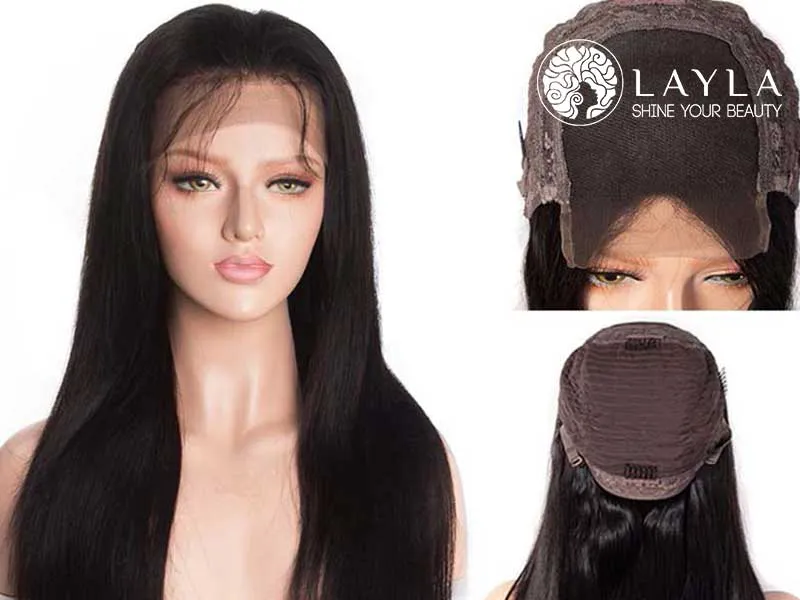
Using high-quality human hair extensions that match your natural texture and color is also important for a seamless blend. Proper placement and installation of the wefts can make them undetectable. Using lace or skin closures at the top provide a natural-looking hairline and part.
With the right blending techniques, haircut, style, and closure pieces, sew-in weaves can have an incredibly natural look that appears to be your own hair.
Blending Techniques
Carefully comb out your leave-out hair to ensure it blends seamlessly with the weave tracks. Make sure you create a natural-looking part and frame your face by softly feathering the ends.
- Apply styling products like gel to slick down flyaways.
- Use a flat iron to match the texture of the extensions.
- Gently tease the roots of the leave-out for volume.
- Set your style by misting hair spray after blending.
With patience and the right techniques, you can achieve a flawless, seamless blend for the ultimate natural sew-in look.
Haircut and Styling Tricks
Honey, when dreaming up your styling tricks, don’t just hack away with your kitchen scissors. Blend the textures right – get a professional cut and style to match your hair. Layering adds shape and movement, so go for wispy ends, not bluntness.
Twist your natural strands into your weave for seamless mixing. Heat-style your leave-out gently and define layers and flicks for flow.
Using Closure Pieces
When installing, ensure proper placement and secure bonding for longevity. Style as usual, treating the closure as your natural hair. Maintain scalp health with gentle cleansing and moisturizing. With some creativity and care, closures help you achieve a flawless, natural-looking weave.

Tegs:
Search
Recent Posts
-
Unravel the Story Behind "Hair or Weave": A Deep Dive into the Song's Lyrics
Apr 14 2025
-
Fusion Hair Weaves: The Ultimate Guide to This Versatile Style
Apr 14 2025
-
Find Your Perfect Look: African American Hair Weave Hairstyles
Apr 14 2025
-
Style Your Hair with Freetress Water Wave Crochet Hair: A Review
Apr 15 2025
Subscribe to Updates
Get the latest posts and fashion insights directly in your inbox.