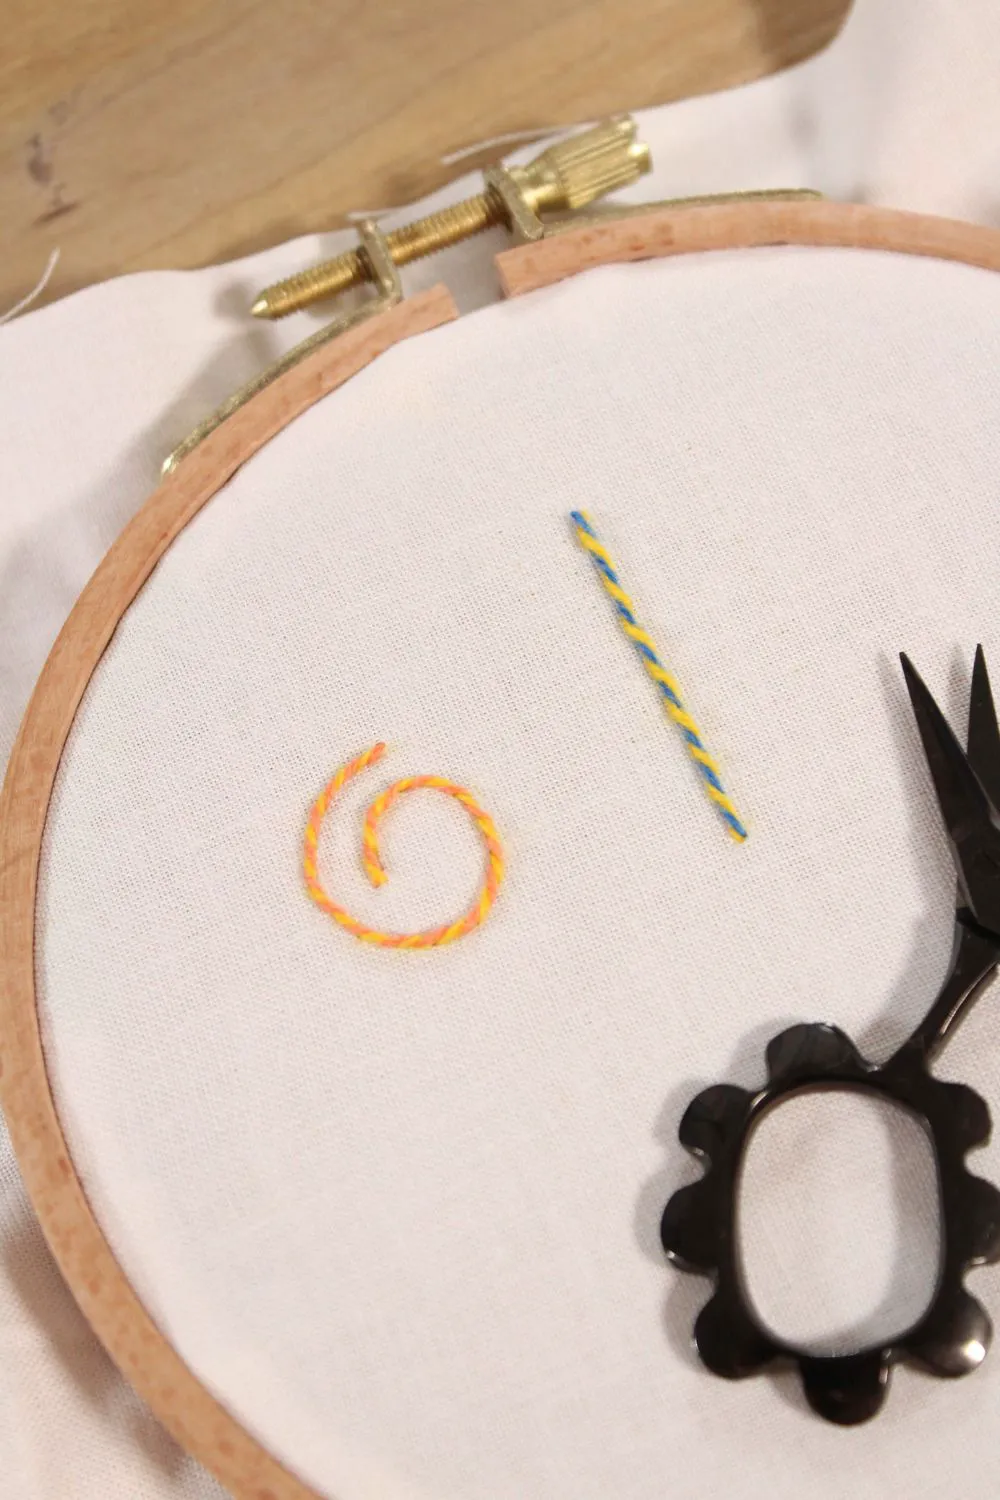
Embroidery Whipped Back Stitch: A Decorative & Versatile Stitch
Master the Whipped Back Stitch: A Decorative & Versatile Embroidery Technique
Master the Whipped Back Stitch: A Decorative & Versatile Embroidery Technique
Embroidery Stitch Video Tutorial: Backstitch
The backstitch is one of those basic stitches used in many types of hand embroidery, but, although it’s a basic stitch, it’s extremely versatile and can be used in any kind of surface embroidery project, from beginner’s embroidery all the way through expert.
Like the running stitch, the backstitch creates a line made up of straight stitches, but unlike the running stitch, there is no space between each stitch.
In the photo above, you can see the backstitch being used to embroider a word in my hand embroidered lettering tutorials.
In that tutorial, I also cover how to “travel” the threads on the back of the fabric, to keep the work neat. If you’re looking for information on how to use the backstitch to embroider words or letters, you might want to check out that embroidered lettering lesson.
The backstitch is also used to form the base of many composite stitches. In the photo above, it is used as the base of Pekinese stitch, laced backstitch, and whipped backstitch.
Backstitch stitch can be worked on straight lines, curved lines, tightly curved lines. When it is whipped with another thread of the same color, it creates a solid line that looks a little ropey, stands up a bit from the fabric, and that smooths itself around curves quite well.
Here’s an example of outlining done with whipped backstitch:
You can read more about it in this article on adding texture to embroidery with simple stitches.
There are many other stitch combinations that employ backstitch, so never underestimate the value of this simple stitch!
▶ Book Review
“What Sarah has done very cleverly is successfully target this embroidery book at a really huge audience. Whether you’ve never done any embroidery before or you’ve been sewing for decades, there will be lots in this book for you” — Mr X Stitch
Our eBooks are available on Amazon and Etsy also.
We recommend buying books directly from our embroidery book store.
Whipped Back Stitch Tutorial
First, make a line of back stitches using one color.
Step 1: Come up along a marked line with needle and thread. Make a stitch along the line.
Step 2: Come up along the line a stitch length ahead.
Step 3: Make a stitch backwards, ending at the top of the first stitch.
Repeat steps 2 and 3 the desired length.
Leave a Reply Cancel reply
Sarah’s Hand Embroidery is your one stop destination for hand embroidery stitch lessons with step-by-step illustrations, patterns, projects, and a bit of history.
Sarah has been researching and sharing hand embroidery lessons for over 17 years, making it accessible to everyone around the globe.
10 Books | 500 Lessons | 200 Videos


Tegs:
Search
Recent Posts
-
Hawaiian Flower Embroidery Patterns: Discover Stunning Embroidery Designs Inspired by Tropical Blooms
Apr 14 2025
-
A Journey Back in Time: 19th Century Embroidery Techniques
Apr 14 2025
-
Brother PE Design Next V9: Take Your Embroidery to the Next Level
Apr 14 2025
-
Find the Perfect DMC Embroidery Floss at Hobby Lobby: A Comprehensive Guide
Apr 14 2025
Subscribe to Updates
Get the latest posts and fashion insights directly in your inbox.