Decoupage on Wood with Paper: A Beginner's Guide to This Creative Technique
Decoupage on Wood with Paper: Transform Your Wooden Surfaces into Art
Decoupage on Wood with Paper: Transform Your Wooden Surfaces into Art
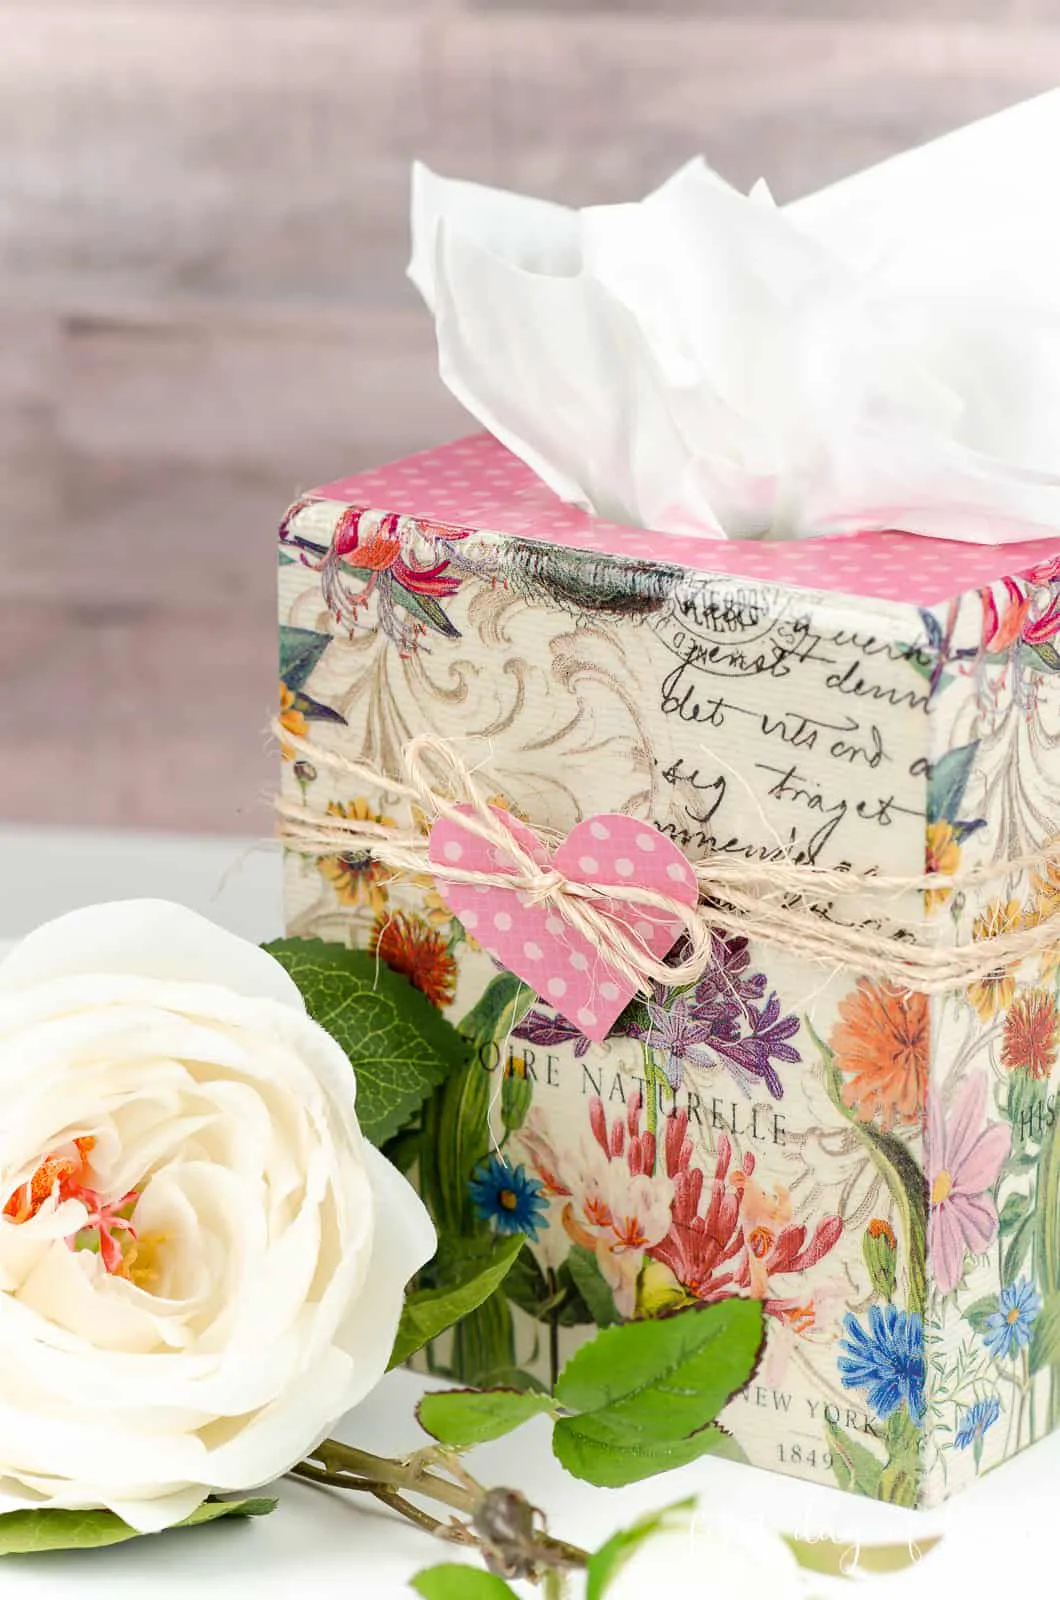
Mod Podge on Wood
Before we get into the skinny, I’m going to go over some frequently asked questions. If you are new here or this is your first time working with Mod Podge, I think you’re going to want to read these. Otherwise you can scroll right down to the tutorial at the bottom of this post.
They are not the same thing. Decoupage is the process and Mod Podge is the art medium that you are going to do it with! You can read our posts what is decoupage and what is Mod Podge to learn more.
22 Comments
Romeogirl says:Yummy! Love me a good wooden box project!Donna Dodson says:Love a blank canvas! Thanks for joining me. 🙂 Have a beautiful week. xoBarbara says:I really like that and I wouldn’t mind trying it myself. I have some rice paper but I have yet to use any of it. Haven’t found the right project yet. But I am working on a project right now that I would like to decoupage some hot air balloons on it. I printed some out on regular paper that I would like to use but I don’t know if that will work or not. What do you think?
Donna Dodson says:Hi Barbara, I think that would depend on the printer ink. My fear would be the ink would run, but you don’t know until you try. Let me know how it works out. 🙂 Have a beautiful day.
Jackie C says:Do this is so creative! I am not that artsy, so I’m thankful for your posts that give me ideas!Donna Dodson says:Thanks, Jackie!
Creativity is in us all. The biggest problem I hear from others is that it’s scary, and fear stops them from even trying. It’s a form of self-expression and letting go of the fear can be so freeing. Keep creating, my friend. 🙂
Thanks Do, I think I will try it on a test board first and go from there. Those air balloons sure are pretty.
Wish me luck!
You know what, Barbara? My hubby gifted me with a hot air balloon ride. It was magical! Good luck with your project. 🙂
Things to Consider When Decoupage Wood
Decoupage wood can be a great way to add interest and character to your home décor. However, there are some important things you should consider before starting your project.
Once you have all the materials needed, it’s time to prepare your surface. Sanding or priming the wood before starting can help ensure a better bond between the adhesive and the wood. If you’re using a dark piece of wood, consider adding some white paint to the surface prior to applying the paper, as this will help bring out the colors in your design.
Finally, make sure to allow ample time for the glue to dry and the project to cure. This is especially important if you are applying varnish or sealer as a topcoat; allowing plenty of time will ensure that your project comes out looking great!
Decoupage is a fun and creative way to add unique decorative elements to any room in your home.
10 Steps How to Decoupage Wood
1. Gather Your Materials
The first step in decoupaging wood is to gather all of the materials you will need. These include wood, decoupage glue, paintbrushes, scissors, and a variety of decorative papers or fabrics. You may also want to have some sandpaper on hand for smoothing out any rough edges on the wood. Once you have all of your materials gathered, you can begin the decoupaging process.
2. Prepare the Wood
Before you start decoupaging, it is important to prepare the wood by sanding down any rough areas and cleaning off any dirt or dust that may be present. This will help ensure that your finished product looks as good as possible. Once the wood is prepped, you can move on to the next step.
3. Cut Your Decorative Paper
Once your wood is ready for decoupaging, it’s time to cut your decorative paper into small pieces that will fit onto the surface of the wood. Use scissors to cut out shapes or patterns from the paper that will look attractive when applied to the wood surface. Make sure that each piece is slightly larger than its intended area so that there won’t be any gaps between them when they are glued down.
4. Apply Glue
Once your decorative pieces are cut out and ready to go, it’s time to apply glue to one side of each piece and then place them onto the wood surface in whatever design you desire. Make sure that each piece is firmly adhered before moving on to the next step.
5. Smooth Out Any Rough Edges
Once all of your pieces are glued down onto the wood surface, use a damp cloth or sponge to smooth out any rough edges or bumps in order to create a neat and even finish overall. This will help ensure that no gaps remain between each piece after they are dried and sealed with varnish later on in this process.
7. Seal With Varnish
8. Add Finishing Touches
At this point in this process, feel free to add any finishing touches such as additional embellishments (e.g., buttons or beads) if desired! Doing so helps give more character and personality to your project overall while also making it more unique compared with other projects done using similar techniques like decoupage here!

Tegs:
Search
Recent Posts
-
Decoupage para muebles: Dale una nueva vida a tus piezas
Apr 14 2025
-
Papel de Decoupage: Guía de Gramajes y Tipos
Apr 14 2025
-
Crea diseños de decoupage inspirados en los globos dirigibles Zeppelin: Un toque retro y elegante
Apr 14 2025
-
Collage and Decoupage: Exploring the Art of Paper Craft
Apr 14 2025
Subscribe to Updates
Get the latest posts and fashion insights directly in your inbox.