Creative Decoupage Glass Christmas Ornaments: DIY Ideas
Transform Glass Ornaments with Decoupage: Step-by-Step Guide
Transform Glass Ornaments with Decoupage: Step-by-Step Guide
Decoupage Christmas Ornaments (with Video)
Welcome to Sugar, Spice & Glitter! Please note, this post may contain affiliate links. For more details, see our Full Disclosure .
Welcome back to Sugar, Spice & Glitter! Please note, this post may contain affiliate links. For more details, see our Full Disclosure .
A fun way to dress up plain ornaments, these Decoupage Christmas Ornaments are a great way to use up leftover fabric scraps from other craft projects and can be customized in so many different ways!
Table of contents
- How To Make Napkin Decoupage Christmas Ornaments
- Spray Paint Ornament Option
- Supplies for Decoupage Christmas Ornaments
- Prepare Napkins
- Apply Napkin to Ornaments
- 2024 Ornaments
- Unique One-of-a-kind Decoupage Christmas Ornaments
- Other Dollar Tree Ornaments Makeovers
- Resources
First, find a napkin that will work with your Christmas Decor. There are so many options, so your decorating can be as creative as you wish.
Next, you need old ball ornaments or pick up inexpensive ones at The Dollar Tree or online like these. You may also find some cheap used ornaments at Thrift Stores this time of year.
Note: I used clear ornaments. If you use old ornaments, choose carefully because the color may seep through. The napkin is very thin; you can see the original color once you apply it.
I love to look for thrift store Christmas decor this time of year, and here are some tips on what to look for.
Spray Paint Ornament Option
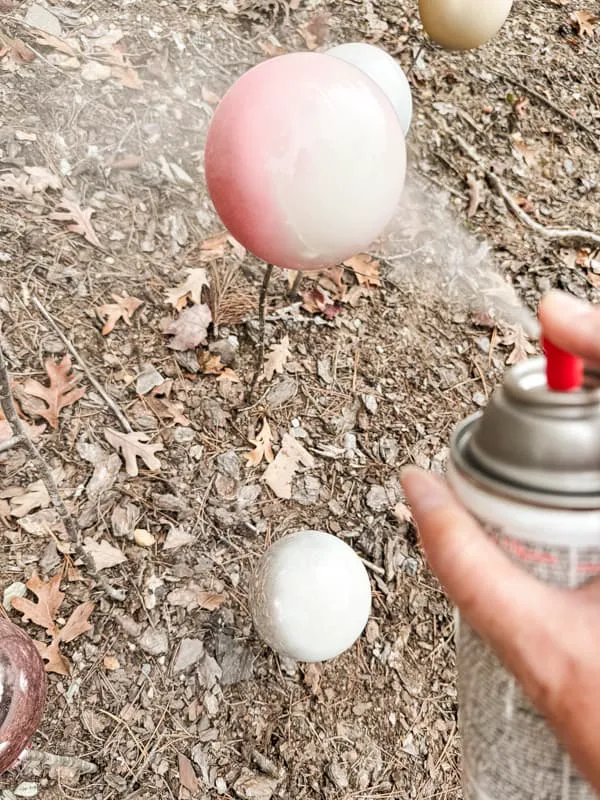
Another option is to spray paint the ornaments before applying the napkin decoupage. If you purchase Dollar Tree ornaments or find a great deal at a Thrift Store, and the color doesn’t work well with your napkin choice, it’s easy to spray paint them with a light color.
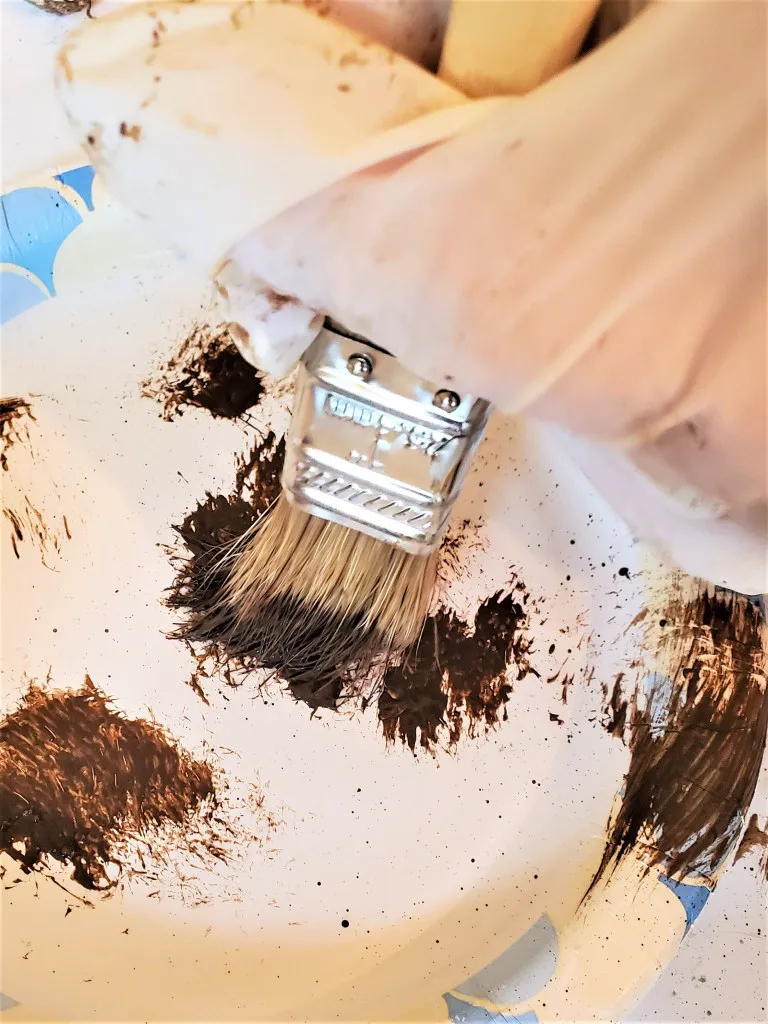
I purchased several oversized ornaments at Dollar Tree for this year’s project. All needed painting. I first removed the caps and found sticks in my yard that would fit into the ornament hole. Then, I used chalky white spray paint to cover the colors.
(Posts on The Ponds Farmhouse may contain affiliate links. As an Amazon Associate, I earn from qualifying purchases. See the full disclosure details here.)
Supplies for Decoupage Christmas Ornaments
- Cardinal Paper Napkins
- Old or Cheap Ornaments
- Mod Podge Gloss Finish
- Paint Brush
- Jute Twine Or Velvet Ribbon
- Chalky White Spray Paint – if you need to paint your ornaments
- Bronze Spray Paint or Gold Metallic – If you want to paint your ornament caps.
Light-up decoupage ornament
Simply wet, tear, and apply the napkin to the bottle, then seal with Mod Podge. Paint the back with white chalk paint for a less transparent look, add snowflake stencils with Snow-Tex for dimension, and smooth any rough edges. Insert cork twinkle lights, and voila – you have a charming night-light that captures the warmth of the season.
Chinoiserie decoupage ornamentsAdding Images
Step 3: Decoupage Details: Transforming Ornaments with Craft Glue
Add a layer of Mod Podge in a small area at a time.
When adding the Mod Podge, there is no need to worry about wrinkles because the images are small pieces.
The perfect way to avoid wrinkles for larger projects is plastic wrap.
Tear a piece of plastic wrap and smooth the wrinkles with your hand. This works perfectly every time.
This Valentine’s Day craft is an example of using plastic wrap on scrapbook paper.
Overlap the images beginning at the top of the ornament and work your way around covering the entire glass ball.
Let these dry overnight.
Note: You may be wondering why paint the glass balls. Honestly, I had a plan to use these differently and changed my mind at the last moment.

Tegs:
Search
Recent Posts
-
Decoupage para muebles: Dale una nueva vida a tus piezas
Apr 14 2025
-
Papel de Decoupage: Guía de Gramajes y Tipos
Apr 14 2025
-
Crea diseños de decoupage inspirados en los globos dirigibles Zeppelin: Un toque retro y elegante
Apr 14 2025
-
Collage and Decoupage: Exploring the Art of Paper Craft
Apr 14 2025
Subscribe to Updates
Get the latest posts and fashion insights directly in your inbox.