Create a Stylish Crochet Sweater with Holes: A Step-by-Step Guide
Learn How to Crochet a Stunning Sweater with Holes for a Trendy Look
Learn How to Crochet a Stunning Sweater with Holes for a Trendy Look
What are the Basic Crochet Stitches?
As a beginner in crocheting, you may have skimmed stitch terminology such as single crochet and double crochet when interacting with free crocheting patterns online.
Before you proceed further, we would like to describe three of the basic crochet stitches that we will use in this DIY project.
First of all, as a beginner, you need to know about the foundation chain stitch (Ch), which forms the backbone of most crochet projects,
The Ch is done by forming a slip knot on your hook, wrapping the yarn around it (yarn over), pulling the wrapped yarn through the loop, and repeating this process until the desired length is achieved.
The single crochet (sc) is one of the most common and straightforward stitches to create as a beginner in needlework.
To make a single crochet, insert the hook into a stitch, yarn over, pull through the stitch, yarn over again, and pull through both loops on the hook.
When done well, a single crochet stitch can create a tight and sturdy fabric to help your dog maintain warmth during cold months.
Another essential stitch that should make it to your needleworking book is the double crochet (dc). The dc is usually taller than the sc. It’s highly texturized and has more flexibility than an sc.
The dc stitch is created by first yarning over, and then inserting the hook into the designated stitch. Next, yarn over and pull through the stitch, leaving three loops on the hook.
Yarn over again and pull through the first two loops, then yarn over once more and pull through the remaining two loops.
The double stitch is always the preferred choice when sewing up areas that need a bit of stretch, like the chest of a dog sweater.
Finally, the half double crochet stitch (hdc) is a sewing technique that sits between the single crochet and double crochet stitches.
Unlike the single crochet, you should yarn over before inserting the hook into a stitch, and then pulling the yarn through all three loops on the hook to complete the stitch.
If you are not familiar with these basic crochet stitches, we recommend going through them one by one and practicing a few patterns before you start creating beautiful DIY projects.
Share a picture!
Catherine says:I love the sweater but wondering how I could make the neckline to fit higher on my chest/neck? More like a modified crew neck. Thanks for the pattern and beautiful inspirations.
Ledonna Olinger says:Hey there Wilma. I just love this sweater. Could I use a 4 weight yarn as my income is in limited supply and I have lots and lots of 4 wt yarns and no 3 wt. The pattern is simple enough for this old mind to comprehend. I think I would need to use same size hook, or should I go up a hook size? I need advice. Thank you so much. Your patterns are all beautiful.
. Tara Horn says:Share Your Photos
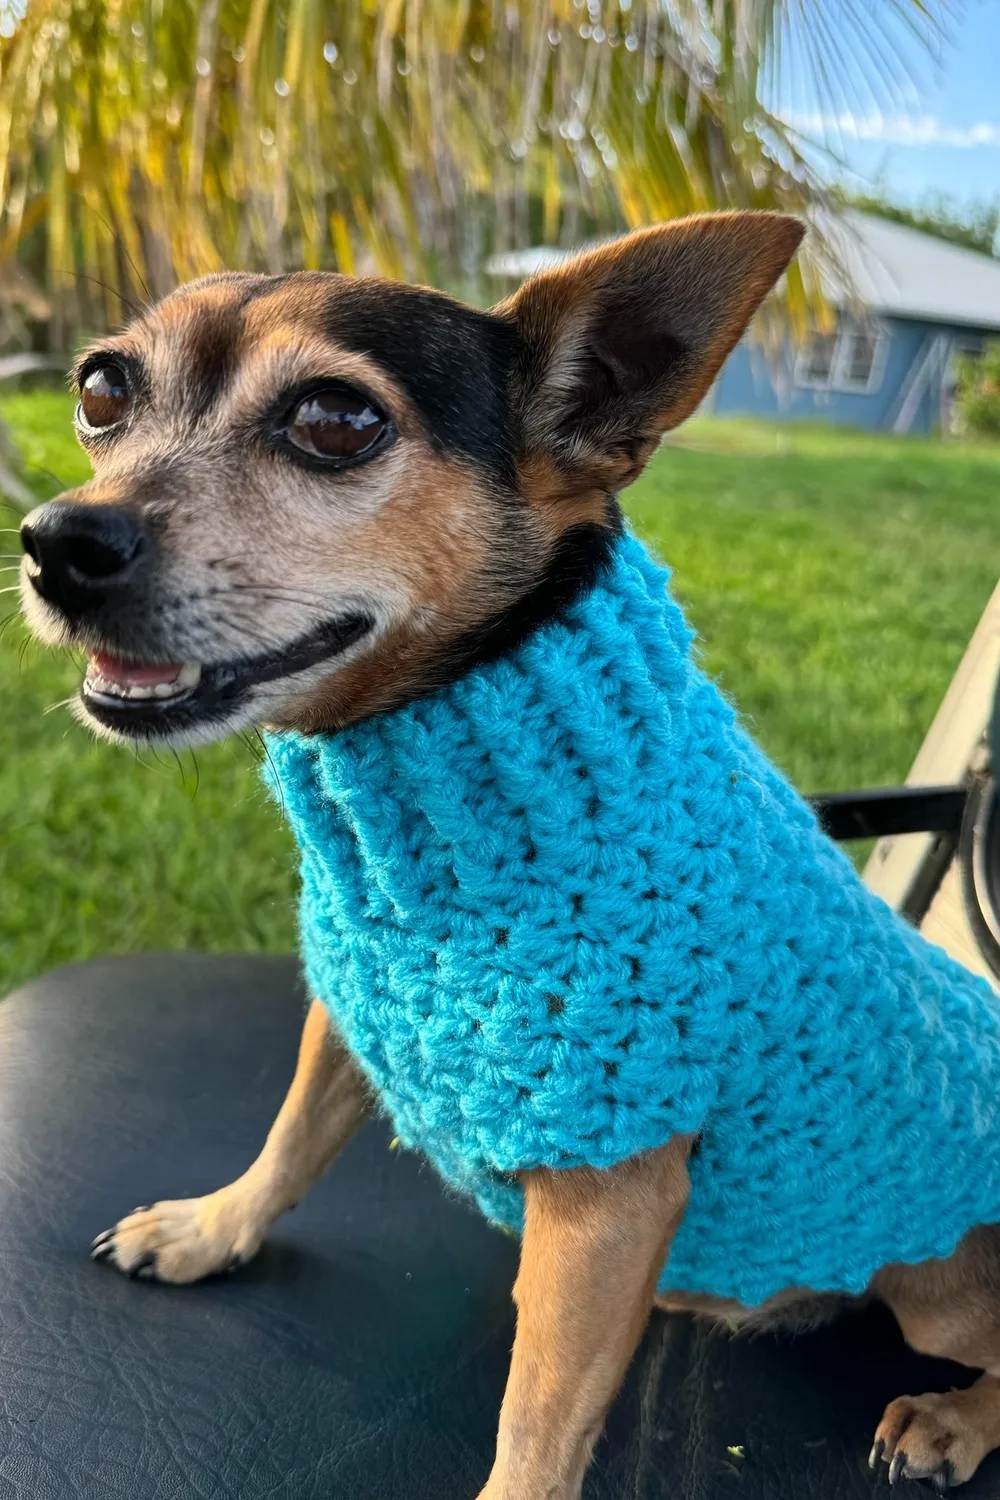
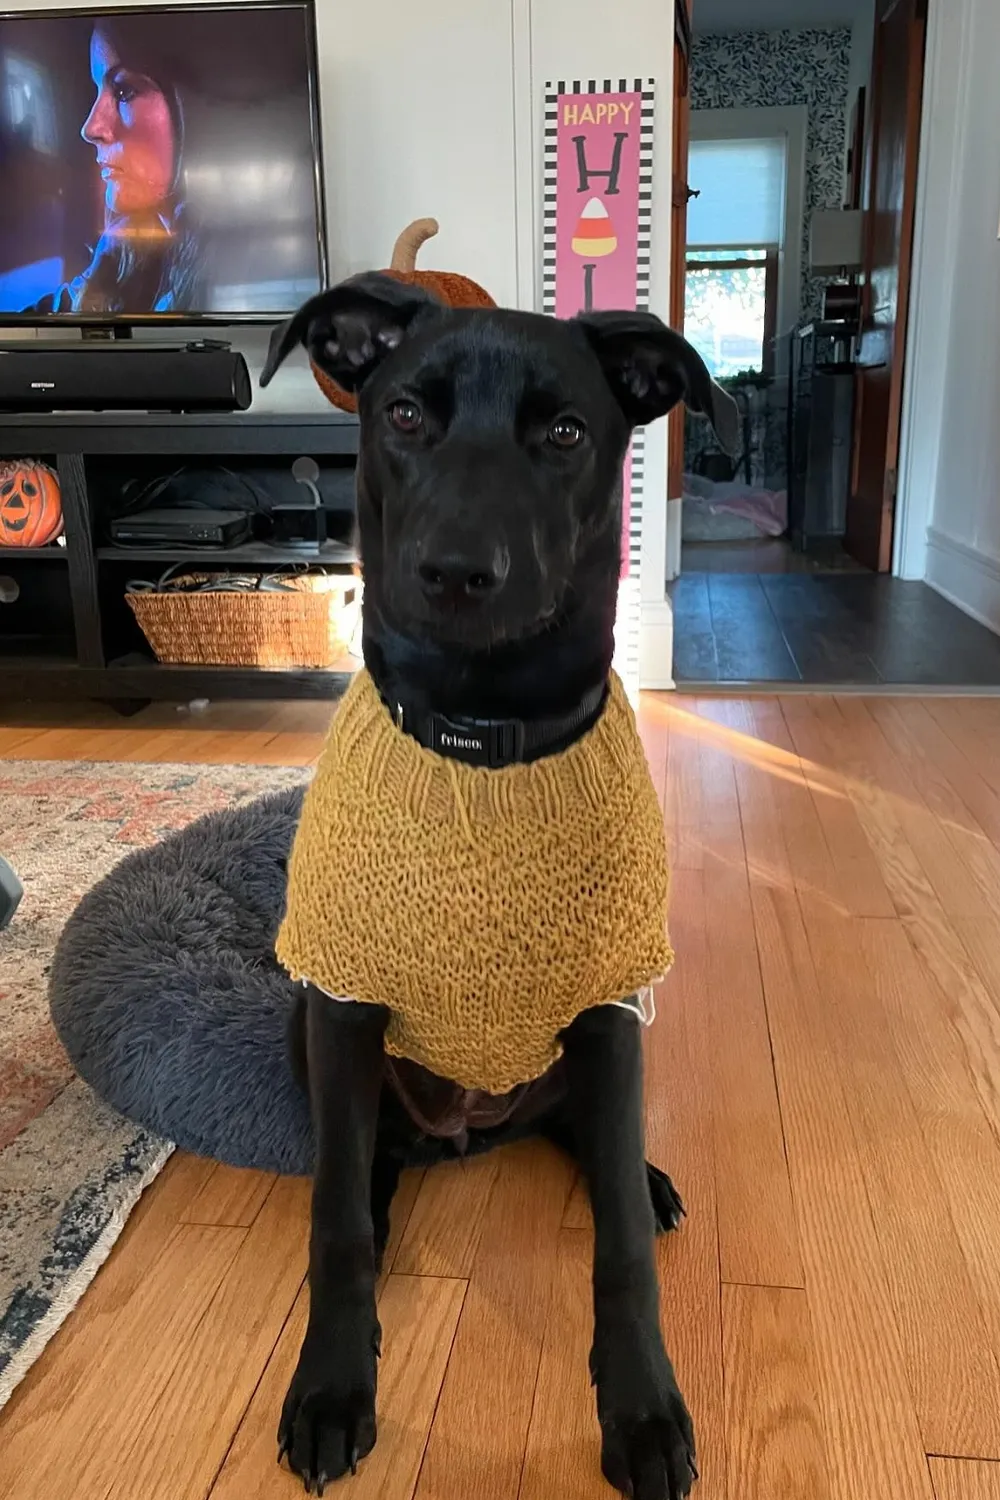
We’d love to see your handsome DIY dog sweater. After completing your crochet project, snap a photo of your furry friend modeling their new, custom sweater and share it with us on Instagram.
Your creative handmade design could inspire other dog owners to explore how to crochet a dog sweater for beginners.
The best part of this project is the opportunity to turn your skills into a business by making and selling handmade dog sweaters to pet parents.
Easy Crochet Sweater ~The Haven Pullover
Sizes Written XS(S, M, L, XL, 2XL, 3XL, 4XL, 5XL)
Starting with the ribbing.
Row 1: Sc in the 2nd Ch from the hook and in each Ch across. Ch 1, Turn (10)
Row 2 – Row 89(103, 115, 129, 141, 155, 167, 181, 193): Sc in the Blo across. Ch 1, Turn. (10)
Do not Fasten Off
You will now be connecting the two short ends of the ribbing by slip stitching them together.
Fold the ribbing with the short sides together (row 1 & row 89, 103, 115, 129, 141, 155, 167, 181, 193).
Going through both loops on each end of the band, Sl St the edges together. (10 Sl St)
Ch 1 and flip the band to where the seam is now on the inside of the band and turn your ribbing to face you.
You will now start working the main portion of the pullover.
A Full Stitch Tutorial to walk you through the tricky parts of the pattern is available in the Printable PDF.
Round 1: 2 Sc in the first St (where your Ch 1 is), then *Sc in the next 7(9, 10, 11, 12, 14, 15, 16, 17) St, then 2 Sc in the next * a total of 10 times ending with a Sc in the remaining 8(2, 4, 8, 10, 4, 6, 10, 12) stitches. [100(114, 126, 140, 152, 166, 178, 192, 204) Sc]

Tegs:
Search
Recent Posts
-
Zara Cream Crochet Dress: Embrace the Beauty of Crochet with this Stunning Dress
Apr 13 2025
-
Cozy Up Your Car: Crochet a Steering Wheel Cover with this Easy Pattern
Apr 13 2025
-
Make a Cozy Pot Holder with This Free Crochet Pattern
Apr 13 2025
-
Crochet a Cozy Scarf in a Day: Easy Pattern for Beginners, Perfect for Gift-Giving
Apr 13 2025
Subscribe to Updates
Get the latest posts and fashion insights directly in your inbox.